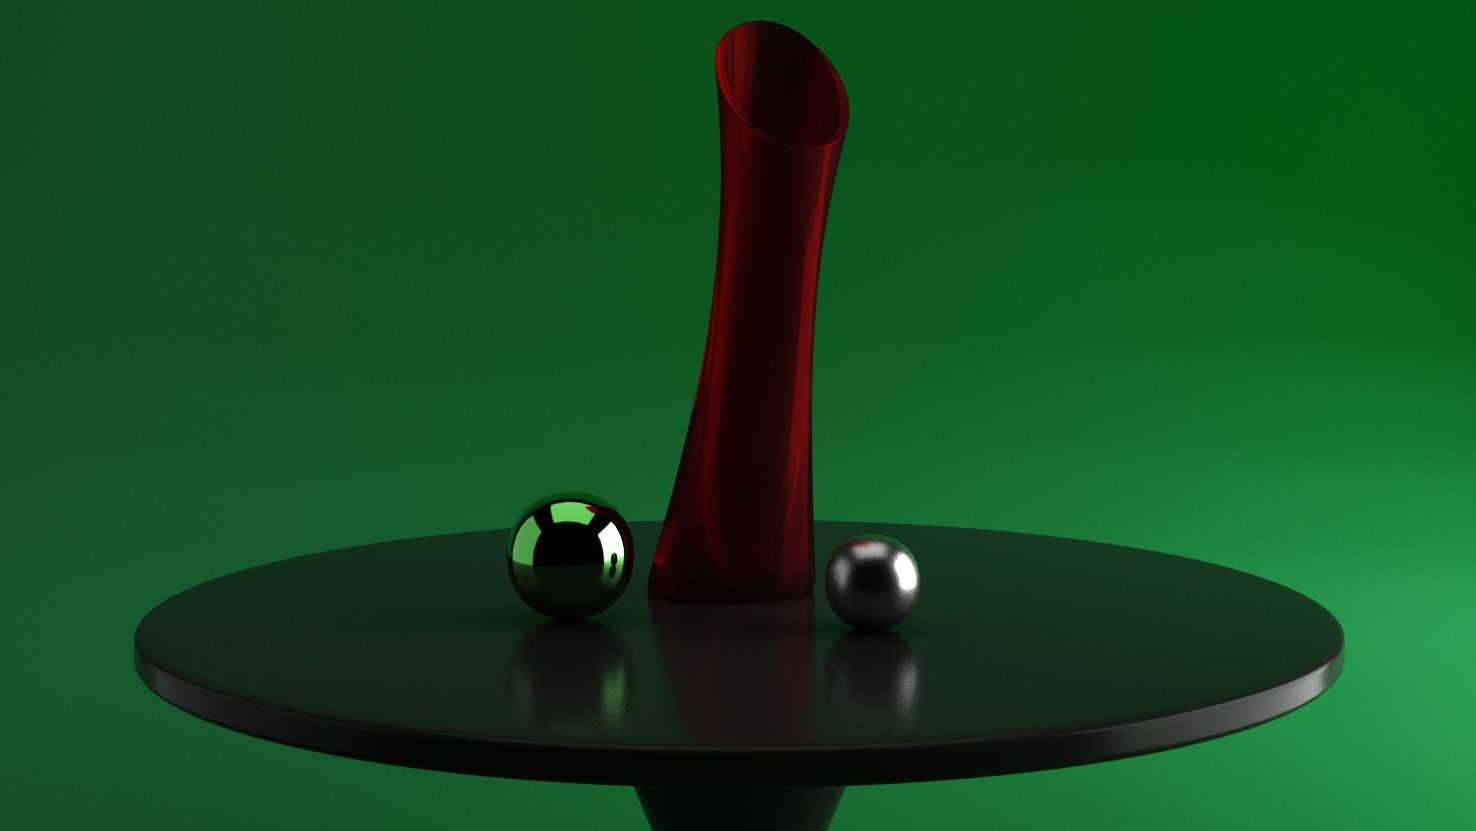
Shaders and Textures
To start the task for this week, I first had to create a small ‘art studio’ consisting of a vase, two material spheres and a table. To make these I used my knowledge from the prior weeks such as the extrude tool and subdivisions. The vase started out as a cube that I used edge loops and subdivision on to create the model that I wanted. I then used extrusion and the move tool to make the vase look how it does now.
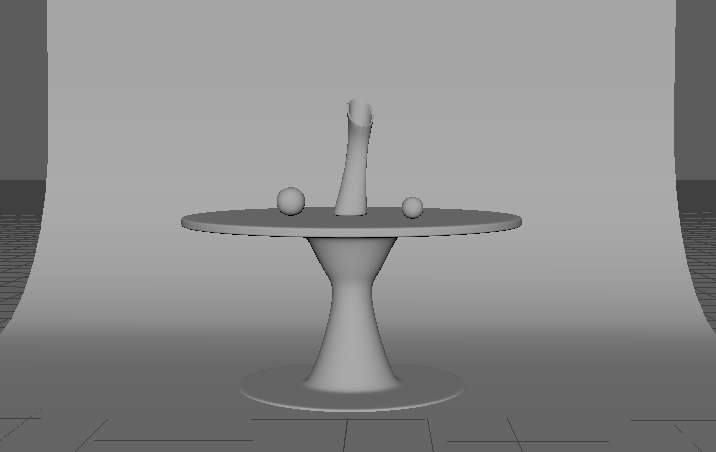
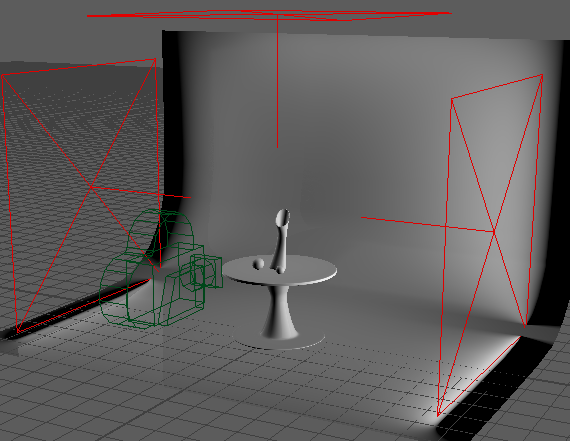
After the models were done, I had to set the scene up for the render. To do this I had to add a camera and lights as shown in the image below. To test what my render would look like at this point I added an AI standard surface material to the models so that I could do a test IPR render. This allowed me to know whether I had to change my light settings because it doesn’t display correctly until rendered.
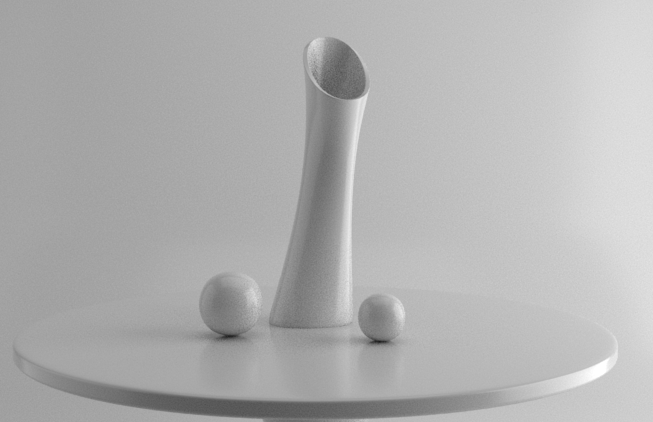
I then changed the material properties of the different model in the scene so that they each were different. I made the vase look like glass and the spheres look like different metals. I also added a ramp to the background to create a gradient effect in the render.
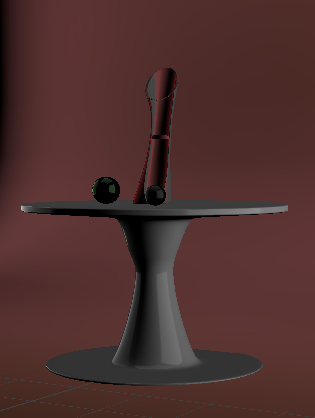
After changing some of the render settings, I then was ready to do a final render. I let the image render fully at a higher resolution then the test renders I did and then saved the image of the render which is shown below.
