Confidentiality Dev Log 3: Skeletal Animation
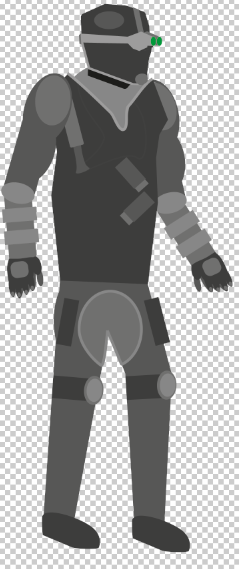
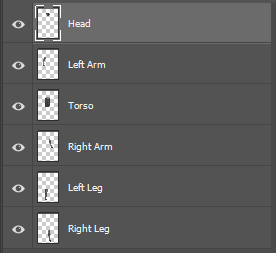

This dev log will cover how I approached animation in my game. To create my sprites for my player character and enemies I had to add a layer for each part of the body. For example, the head and torso. To do this I used Adobe Photoshop and then saved it as a .PSB file which allowed Unity to see the different layers in the sprite image and separate them into different sprites. If I didn’t do this I would have had to import each part separately which would have been more time-consuming.
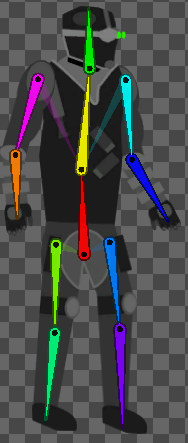

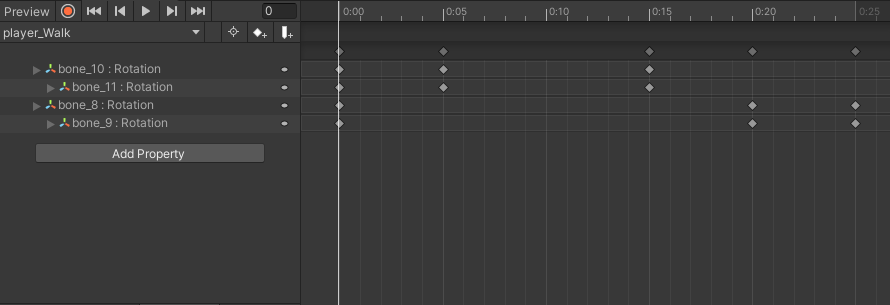
I then used the Unity skinning editor to add bones to the different parts of my sprite corresponding to the different parts and generated some geometry automatically on the sprite that corresponded to the bones for each part of the sprite. Some adjustments had to made with what bones affected the geometry for some of the parts of the sprite but it was very easy to rectify. After I applied this to the sprite, I could then start creating animations for this by manipulating the bones I created and using the animation window. To make an animation clip, I had to press the record icon next to preview and manipulate the bones to be in different positions at different key frames.
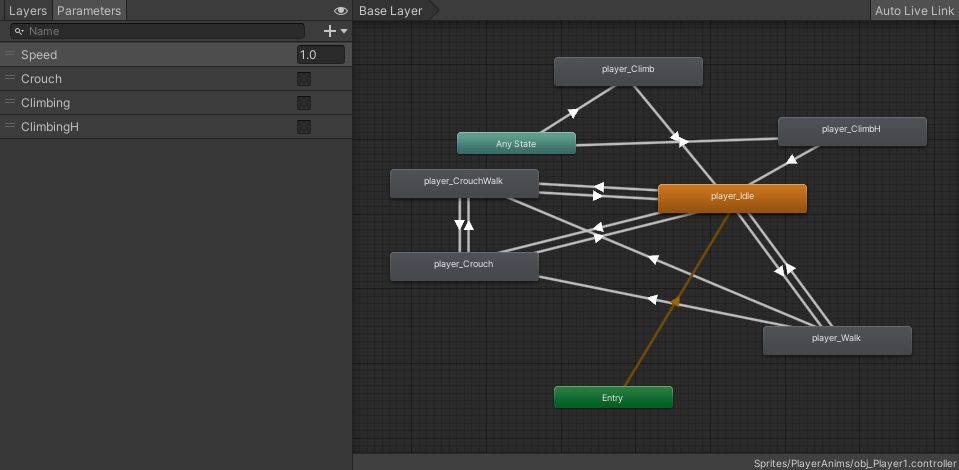
After the different animations were created, I had to use an animator controller to make sure they played at the right time. To do this I used transitions that worked only when certain parameters (left side) were met. The parameters are triggered through the respective scripts for the player and enemies as I touched upon in the dev logs for the player and enemy scripts.