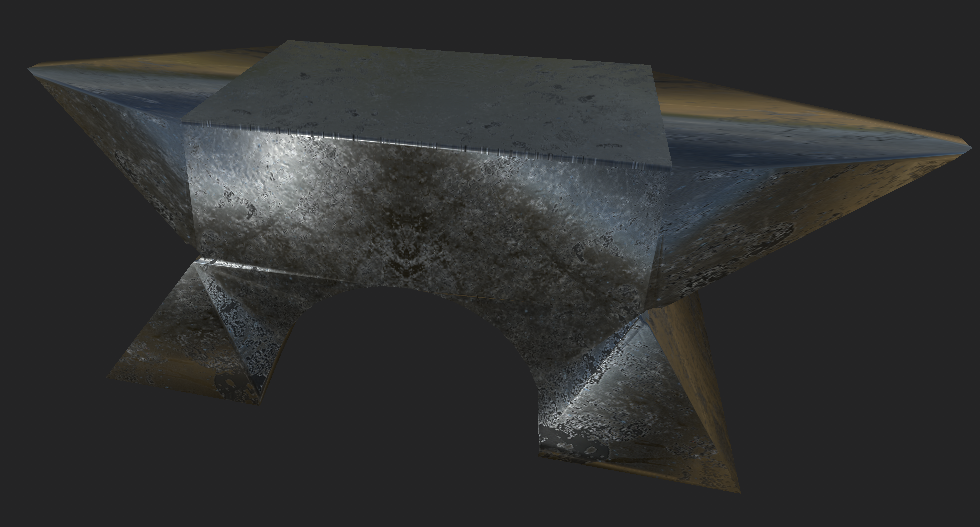
3D Asset Design Assignment Post 12 – Additional Notes (Anvil)
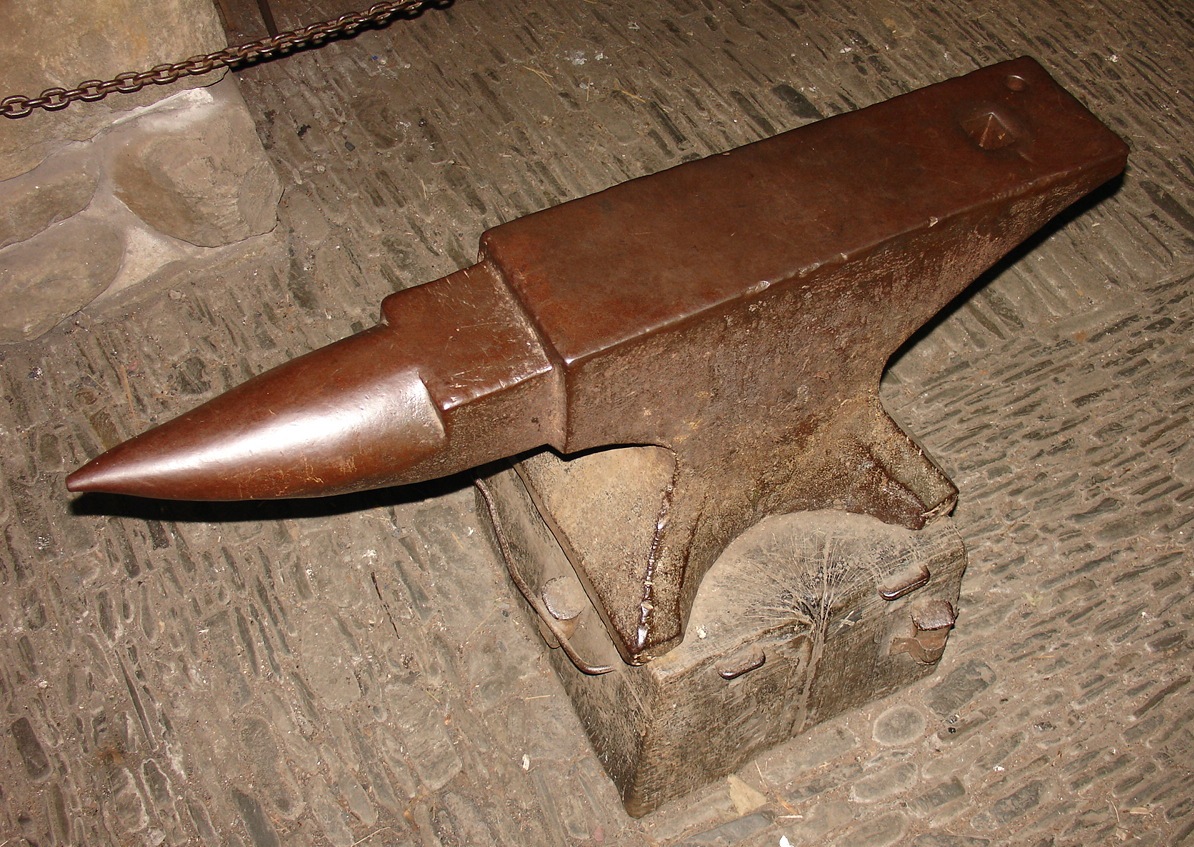

These two images are the reference images I used for the anvil. I chose two different anvil designs to draw inspiration from so that I could use aspects from both of these anvils in my 3D model. I based the top of my anvil on the right image while I took inspiration from the bottom of the left anvil for my model.
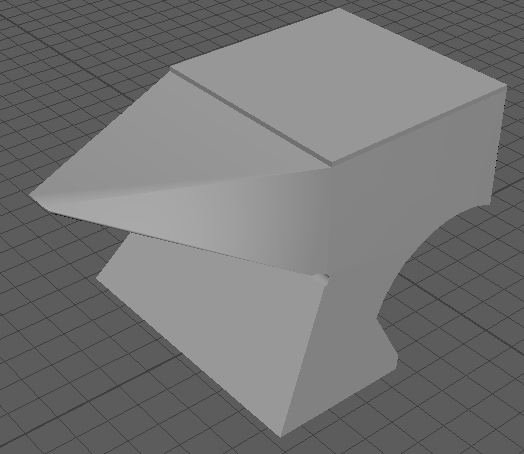
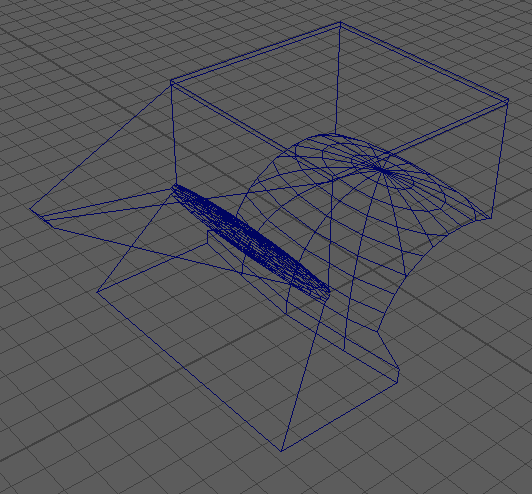
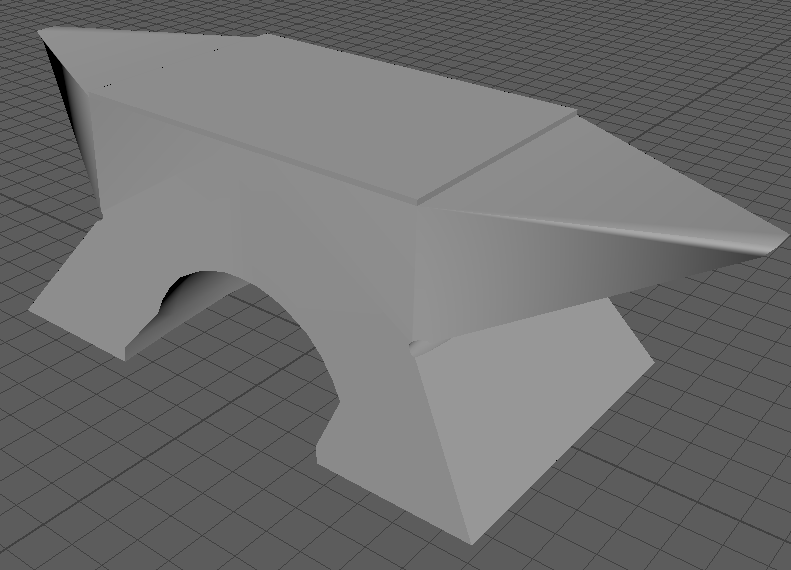
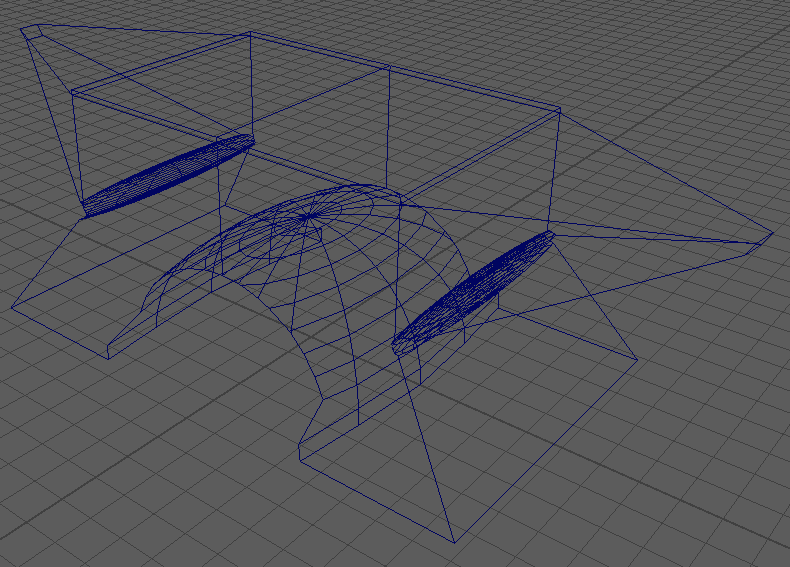
To create my anvil I first started with a cube and then used the multi-cut tool on one of the side faces to cut the face in half. I then extruded from the top half of the cut face and merged all four of the vertices on the extruded face to the center of them all which created one side of the anvil. I then used the move tool to change the shape a little and beveled the vertex that was created when the merge happened so that the anvil doesn’t have a sharp point. To create the bottom part of the anvil, I used modified spheres and the boolean difference tool to take parts out of the original cube to create the shape that I wanted. I also used the move tool to edit the shape by modify the position of some of the edges. The mirror tool was then used to mirror the model on the Z axis to create the full anvil.
To texture the anvil I used Substance Painter. I used a smart material known as Steel Gun Matte for the entirety of the model.
