Visual Style and Texturing
When texturing the character, I opted to try and make the textures look as realistic as I could achieve. This was for the same reason I wanted to keep the character’s proportion accurate to a human as I wanted my character to be based somewhat in reality even though the narrative behind my character is very fantastical.
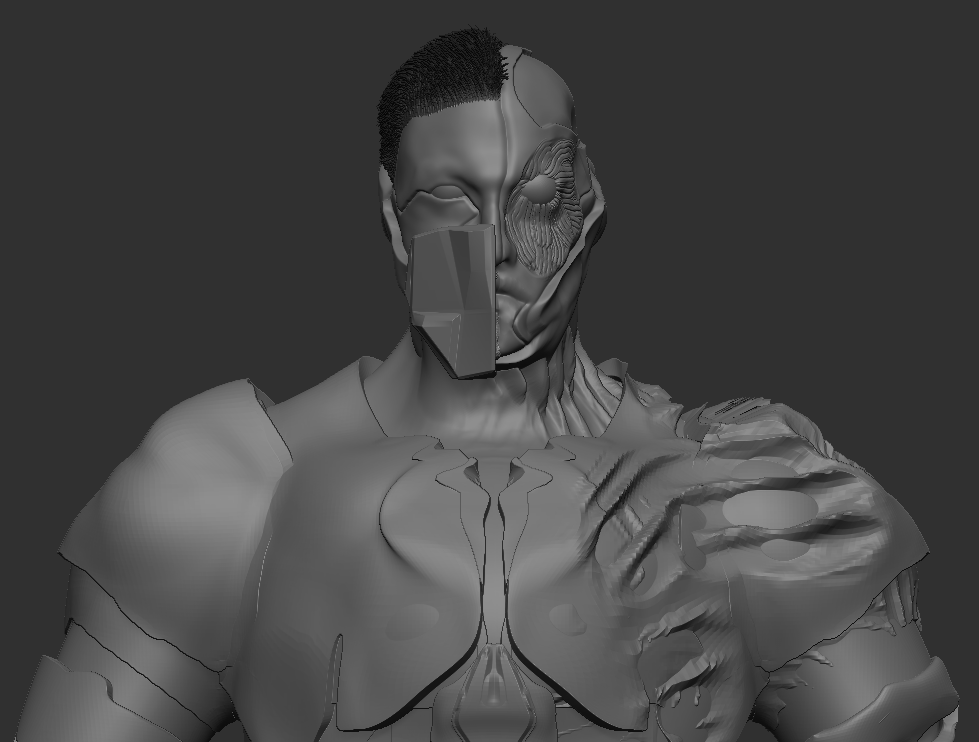
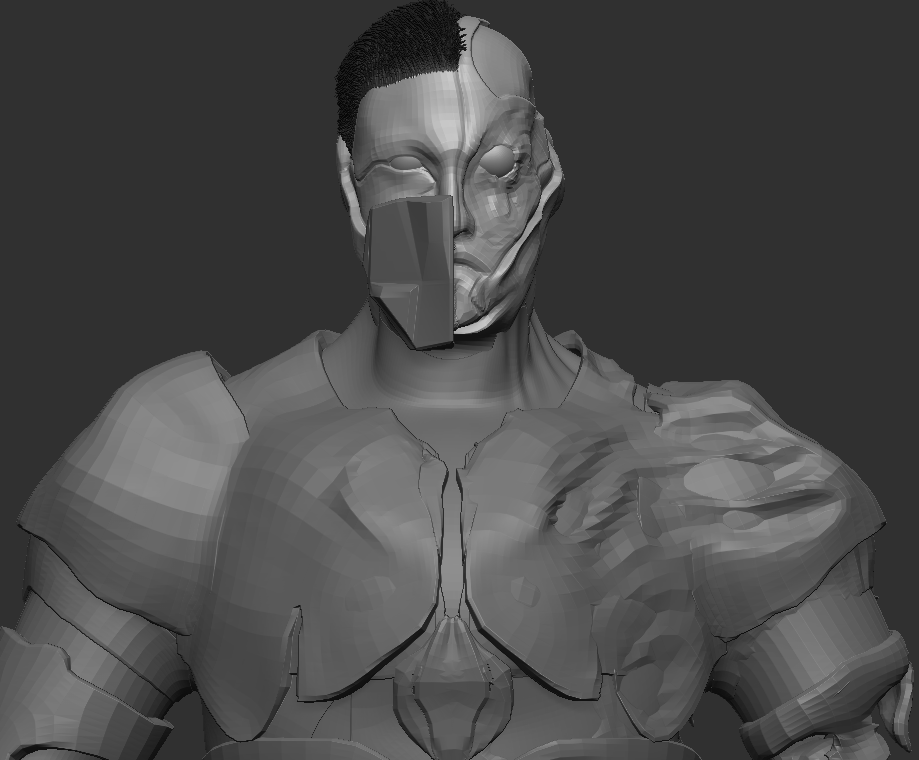
Before starting the texturing process, I used the ZRemesher tool to create low poly versions of all of the sub tools as the model had very high poly counts which would cause issues when rendering the model later. Detail was lost but I could also use the high poly models to bake this lost detail back onto the models in Substance Painter within the textures. This was important to do as my high poly count was 4758365 total polys which was lowered to 402580 total polys for the low poly model.
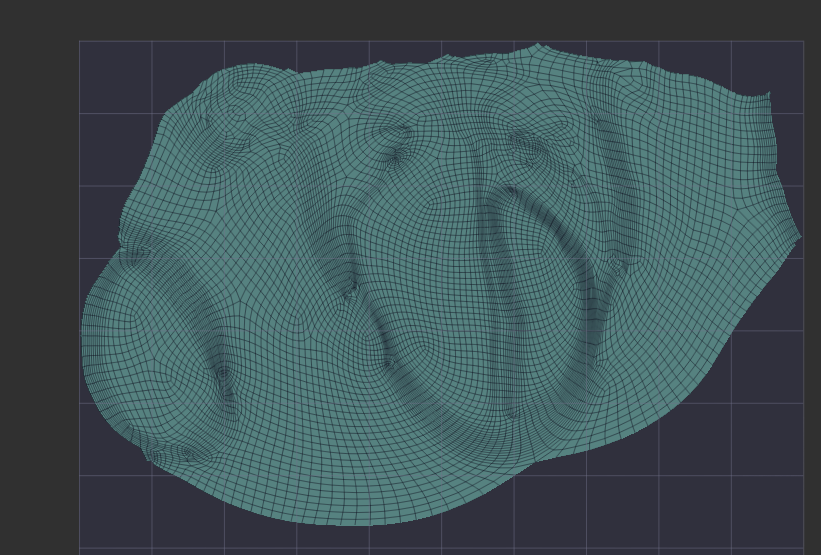
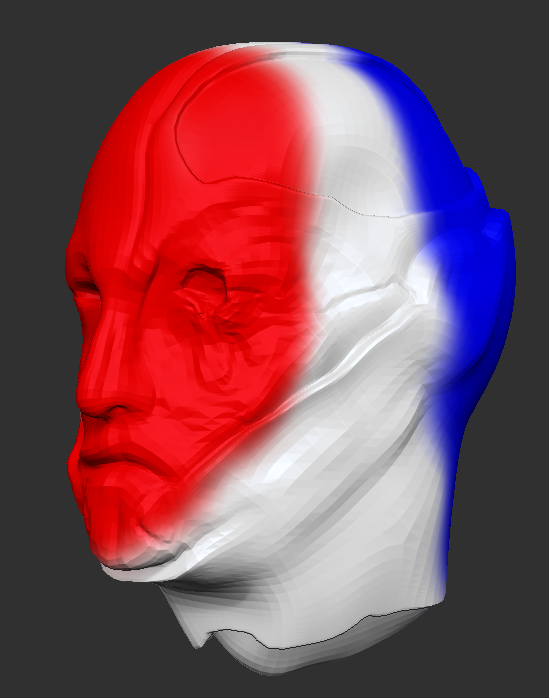
To create the UV maps of the models I used the UV master tool within ZBrush. I’ll use the head mesh as an example to explain the process of what I did as I used the features within the UV master tool to be able to mitigate the seams being visible as much as possible and keep them away from any important geometry especially on the actual face. I was mostly successful in stopping the seams from being on the front of the face, but the UV seams didn’t go where I intended to try and place them.
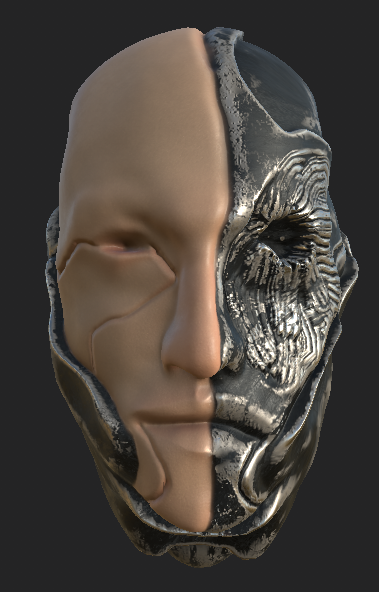
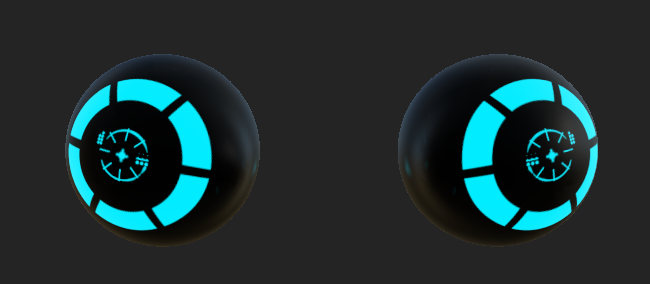
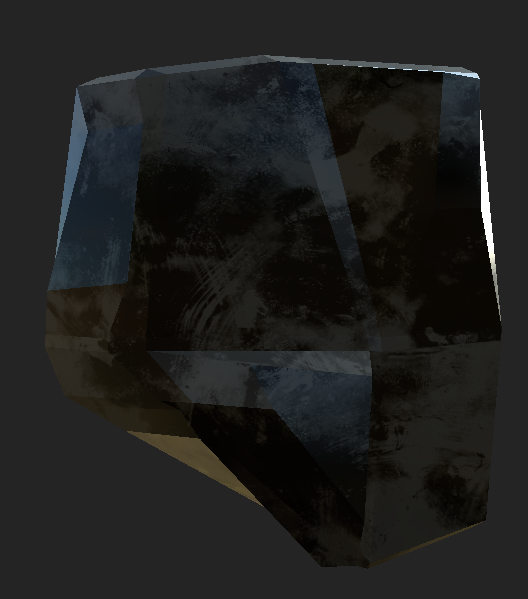
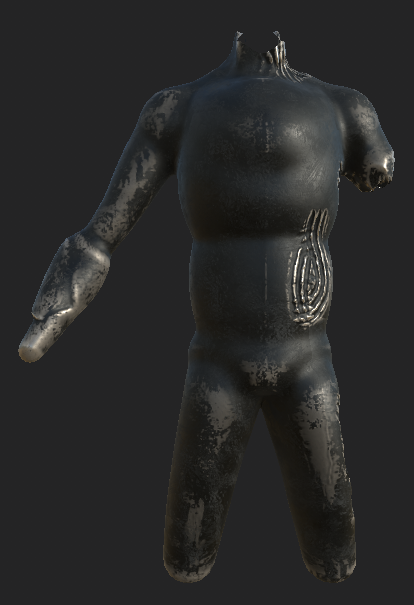
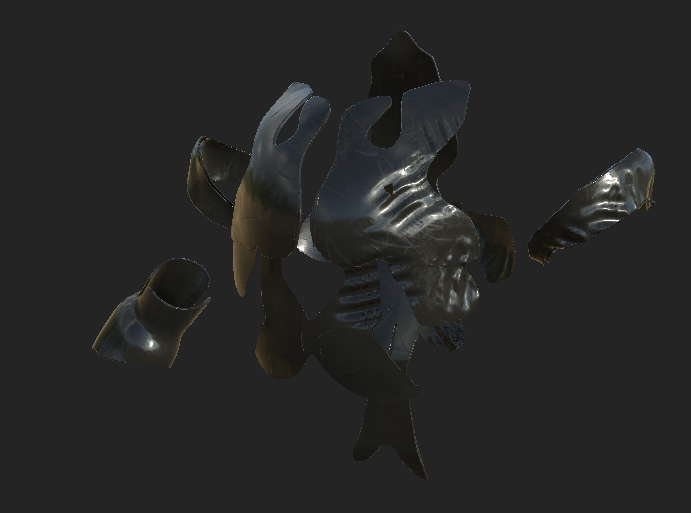
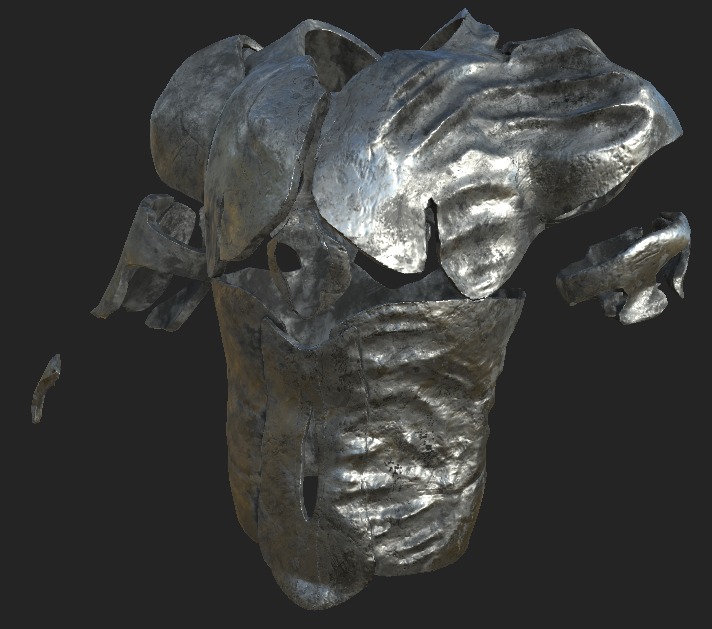
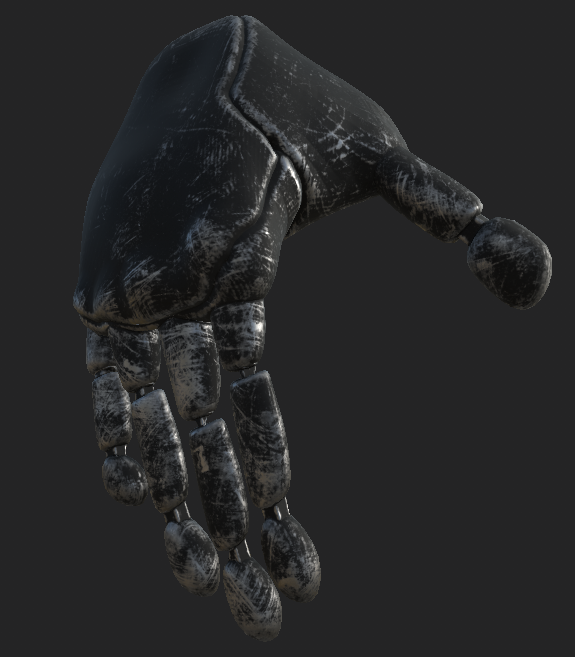
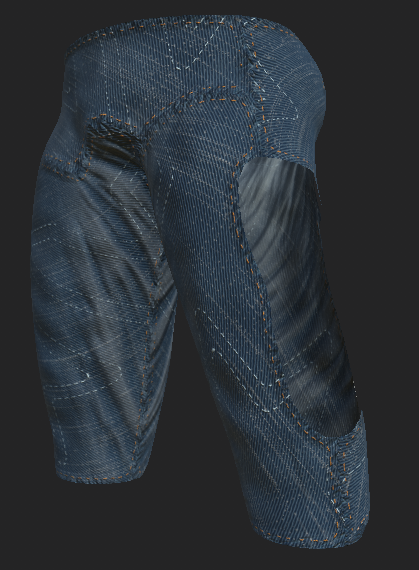
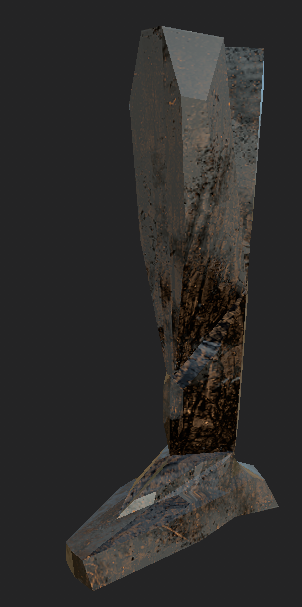
I started the texturing process by first baking in the high poly versions of the model to add that lost detail mentioned earlier back in. This significantly helped to improve the final model as it looked very smooth even though the overall poly count of all the meshes was lowered by a significant margin. To texture the models, I used smart materials as the procedural generation from them really helped me take advantage of the projected detail from baking. The smart materials I used were: Skin Face and Steel Painted Scraped Green for the head texture, Glass Visor for the eyes texture base, Steel Painted Scraped Green for the body, Plastic Glossy Scuffed for the under armour, Steel Ruined for the armour, Steel Painted Rough Damaged for the hand texture, Fabric Denim Washed Out for the pants and Steel Painted Scraped Dirty for both the leg and mask texture.
Most of the texturing was relatively straight forward as I just had to apply the smart materials and adjust the values and colours of the materials. The face texture required more than this though as I had two smart materials to apply to the face. I used a black mask on the Skin Face smart material to set what should be textured as skin and what should be the other smart material. To texture the eyes, I used alphas from within Substance to change what the brush was painting which allowed me to create the interesting shape on the eye. I did this by using another black mask on the Glass Visor material to reveal a blue colour underneath. I had some issues texturing the legs and the mask but changing some of the settings in the Steel Painted Scraped Dirty smart material mitigated this issue.