Modelling the Character
First Attempt:
The first thing to do was to model the base mesh of my character as I wanted to model as much of the character I could to the best of my ability.
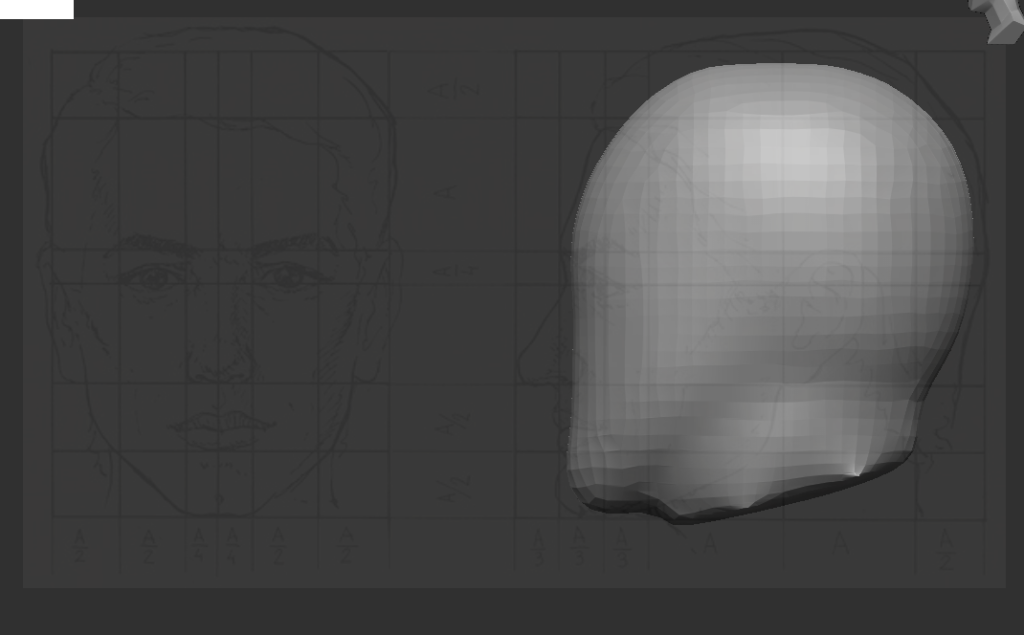
The head was made accurate to the proportion of an actual human using a reference image labelled Figure 9 (pacificgraphicdesign, n.d.). It was created by manipulating a sphere with different sizes of the move brush.

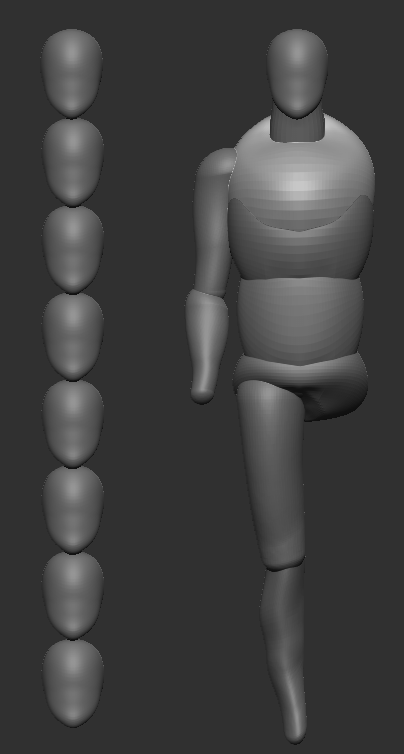
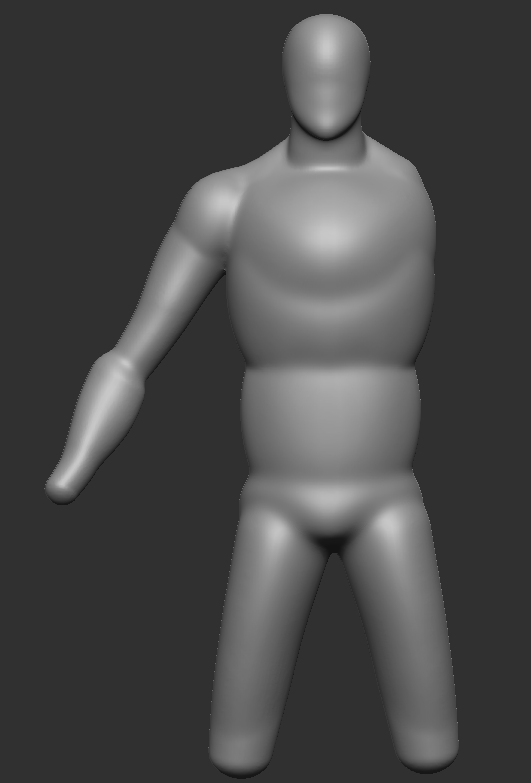
To create the rest of the base mesh, I manipulated a cylinder and spheres also using the move brush to deform geometry into a proportioned shape using another reference image: Figure 10 (Shafigina, n.d.). The eight head method was useful in getting the location of the body parts but the reference helped get the actual body shape.

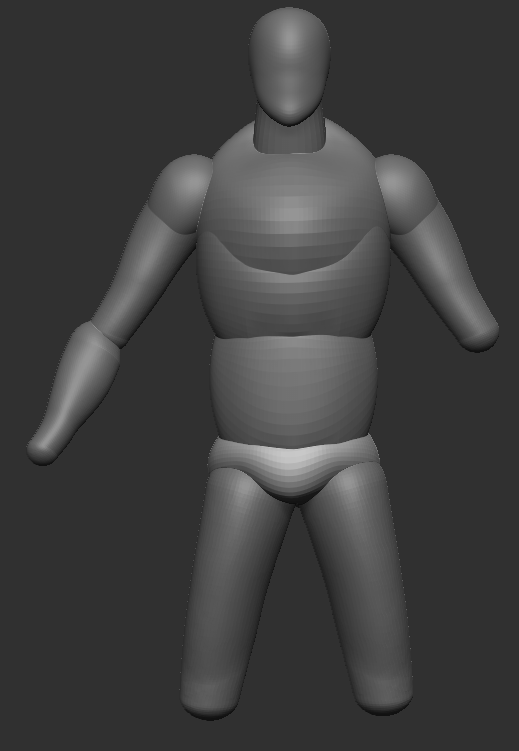
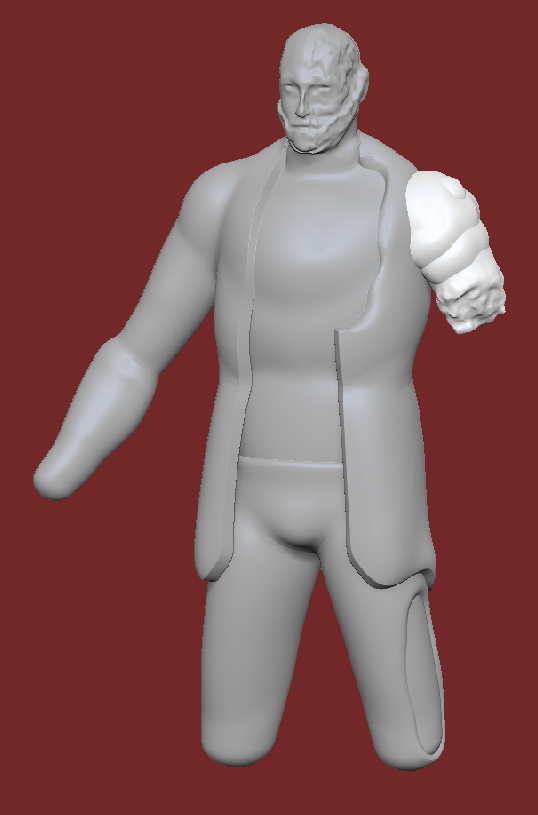
I masked the part of the area that each respective clothing item would be covering and used the extract modifier. I manipulated the clothing using the move brush so that the clothing was damaged.
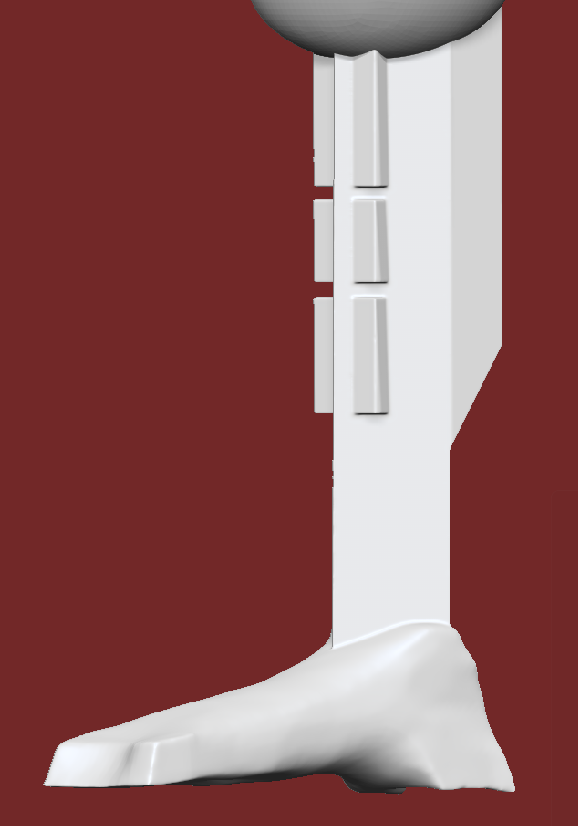
To create the cybernetic leg, I manipulated basic cubes within ZBrush and then dynameshed them together. The foot was then edited with the smoothing brush.
To create the hair and beard, I used fibremesh and changed the settings to make sure the length and number of ‘fibres’. I adjusted the shape of the hair using the move brush so that I could style the hair.
Second Attempt:
I wasn’t happy with my first attempt so I redesigned some aspects of the design. I could then adapt earlier versions into a version following the redesigns closely while avoiding earlier mistakes and issues.
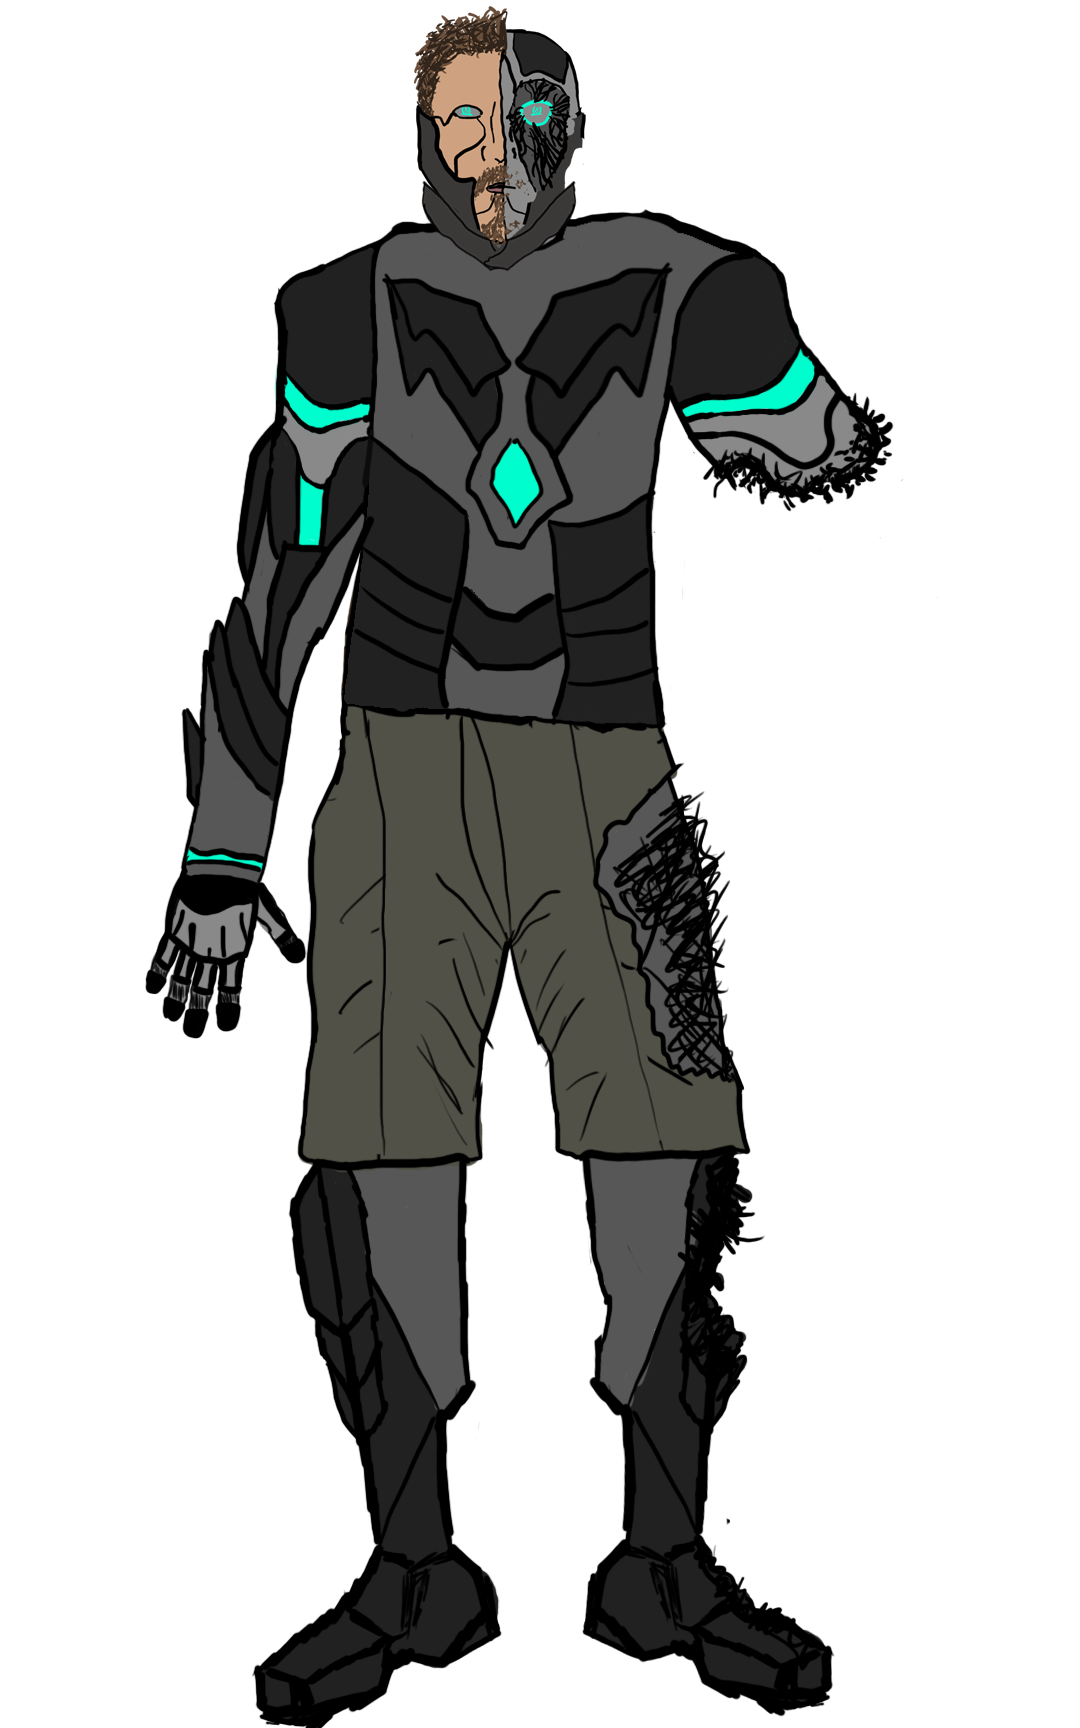
Most of the first model I made while experimenting without a clear plan so for the second design I thought up how I wanted the character beforehand so that it would inform the second model better. The end look probably was going to change but I had a better start with this approach. I redesigned the face and majority of the upper body as I removed the jacket and exposed inner elements of the face.
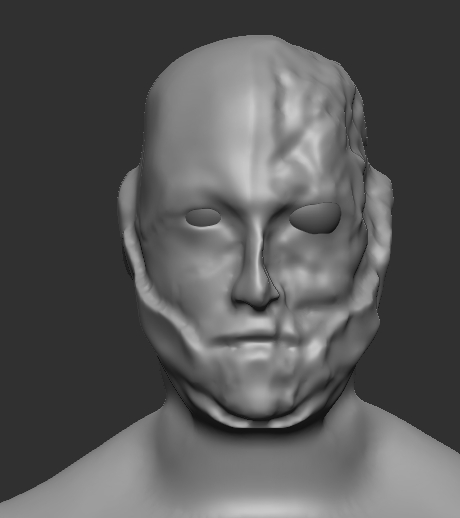
The head of the first model I liked the most but I decided to still change the damage on the left side to match the new design. I reverted to the point before I added the damage and subdivided so I could add more detail as an issue with the first was most of the facial details were lost. I used the dam standard brush to indent into the face, to bring out the lip lines and to create the face border. I turned off symmetry when making the border so it was messy as a straight border wouldn’t fit the character narrative. The damage around the eye was done by indenting the area using the inverse clay brush so that it would take away from geometry. I used the rake brush to create geometry here as this looked like exposed parts within the face and was like the new design sketch. The top-side of the head was masked so that I could use the move brush to indent this area without affecting the rest of the head. I then used the move brush to add more smaller damage.
Model Front
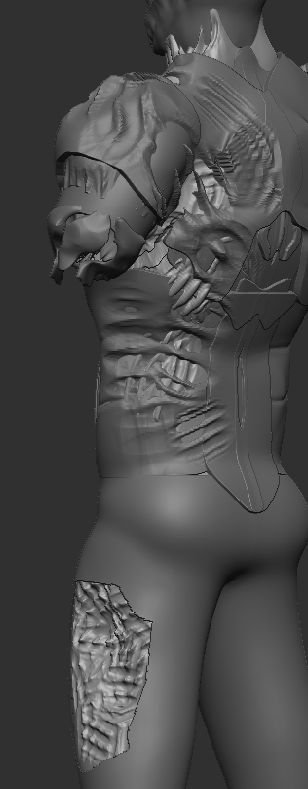
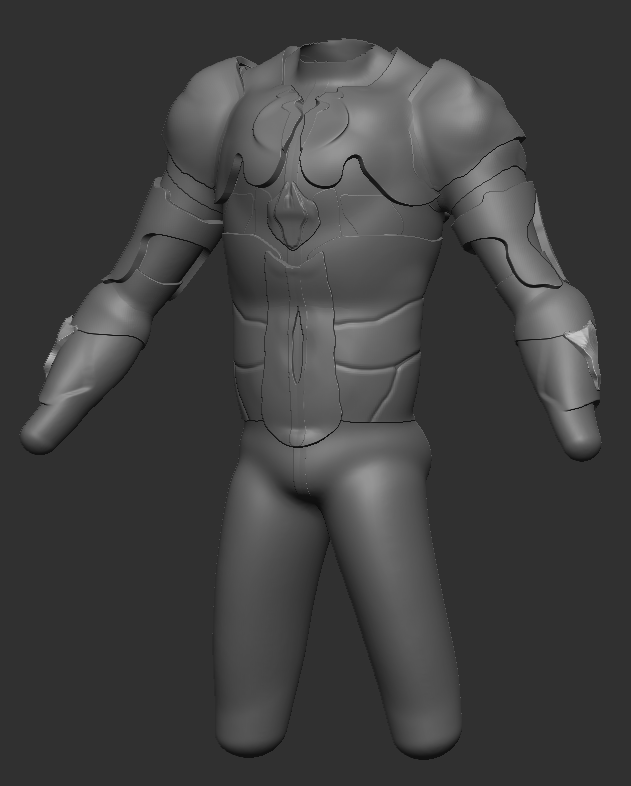
The new base model is based off the original as the undamaged side of the body was mirrored so I could get the other arm back as I wanted to make the damaged arm differently. Inconsistencies with the geometry of both sides was fixed but a seam along the middle was created. This would be an issue if it was a human character, but I think the seam added to manufactured feel of my character which is part of the narrative. In any case it would be mostly covered up by the time this variant of the character model is finished.
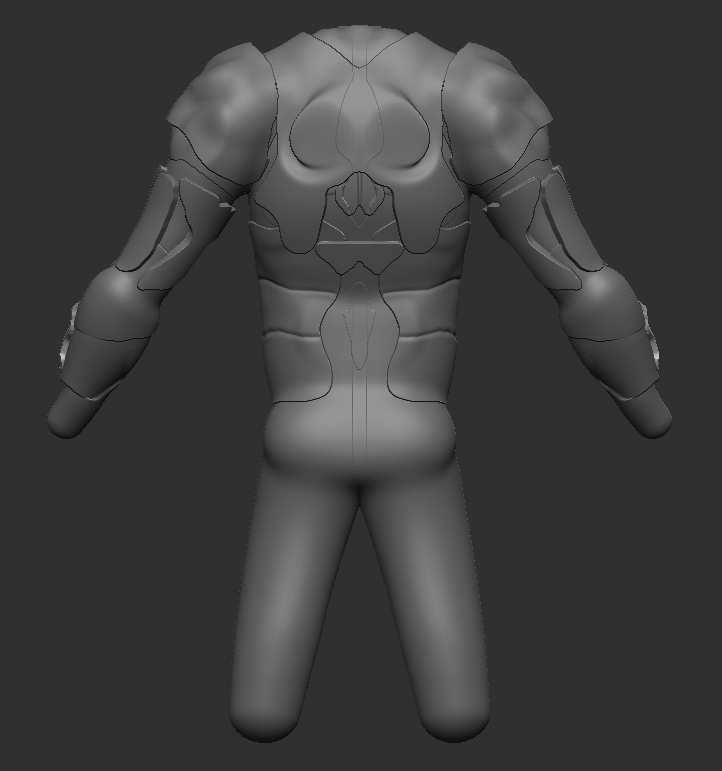
I wanted the armour to be segmented and separate from the base mesh this time so I used the extract tool to get geometry from masked parts of the base mesh and manipulated them using brushes such as move and dam standard. I prefer how this looks compared to the original as it is a more complex design. The pants were created using the extract tool again as the original pants couldn’t be used as they didn’t match the new model.
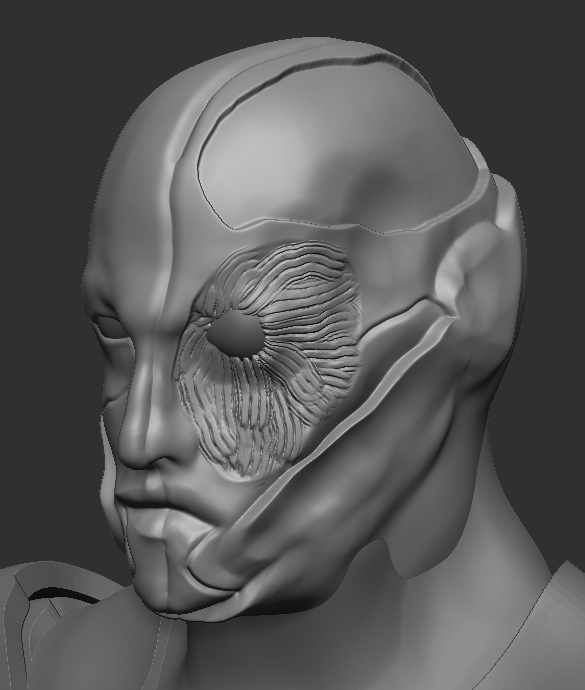
Last time, I ended up losing all the detail on the face so I kept the head separate from the base model this time. There was a way to combine the meshes and keep the detail but I preferred keeping them separate. I manipulated the neck geometry using the different sized move brushes to seemingly make the head connected.
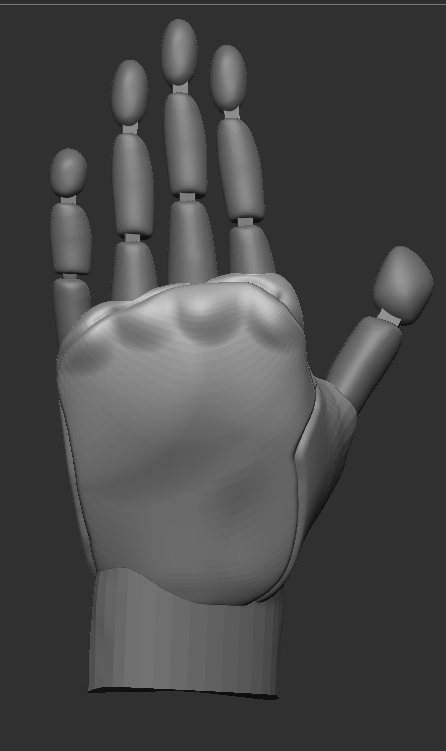

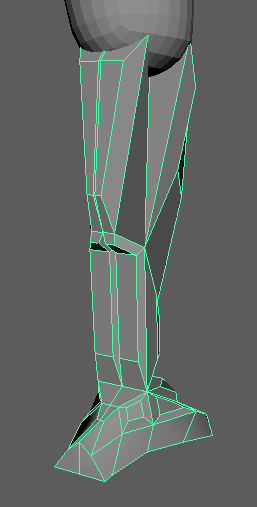
To create the leg model, I decided to use Maya as I thought it would be easier to create the look I wanted. I started with a simple cube mesh and then extruded to create the shape of the leg.
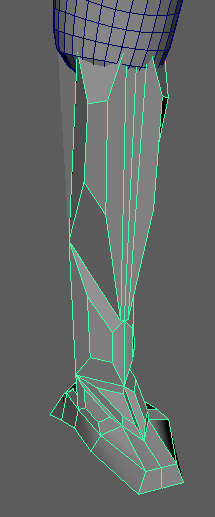
To add more complexity to the model I further used the extrude tool to allow me to scale extruded faces down.

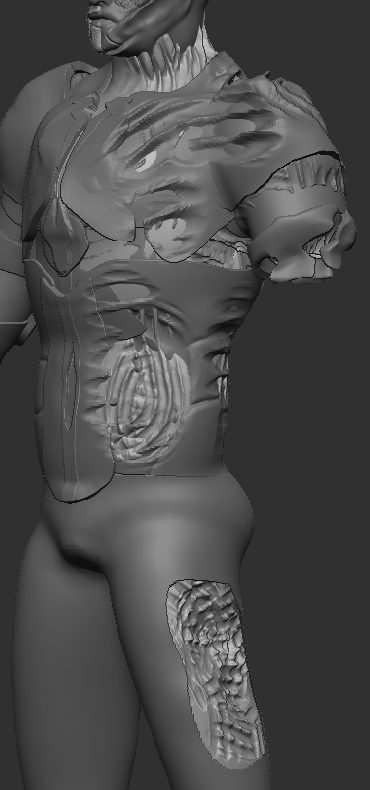
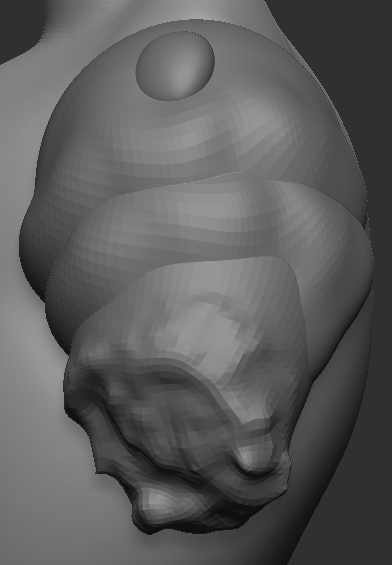
The new version of the damaged arm was done by severely deforming the arm model with the move brush. To create the rest of the damage on the left side of the character, this time I used the rake brush to deform the different elements. I think this method was more effective as this result was like the design this time.
