Character Animation Portfolio 1: Rigging the Character
The first step of the character animation process was to make a rig for it as this is what would be used to make the character actually move. This is because the 3D rig represents the equivalent of the character’s skeleton so manipulating this allows animations to be made.
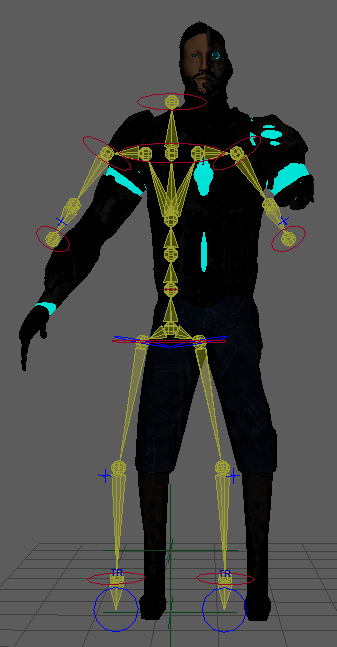
Before I started making my own rig, I decided to see what the Maya auto rig would be like on my character. As my character is missing one arm it didn’t quite work correctly and some parts of the model were attributed to the wrong bones. However it did give me some insight as to how I should structure my own rig.
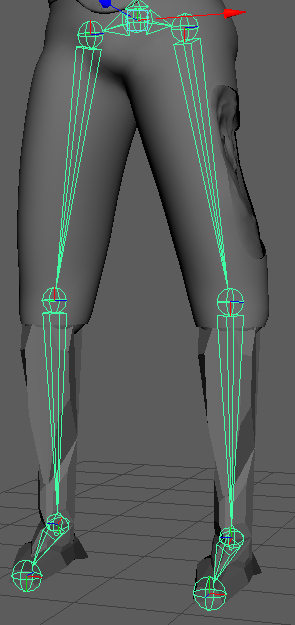
To create the rig for my character I used the Create Joints tool in Maya. The first joint that I created for my own rig was the hip joint as this would serve as the joint that the whole rig would be connected to. I then created the left leg, knee, ankle and foot joints to form the left leg rig. I opted to not use a toe joint as my character has cybernetic legs so it isn’t necessary for my character. After the left leg was done, I used the Mirror Joints tool within Maya to create the right leg rig.
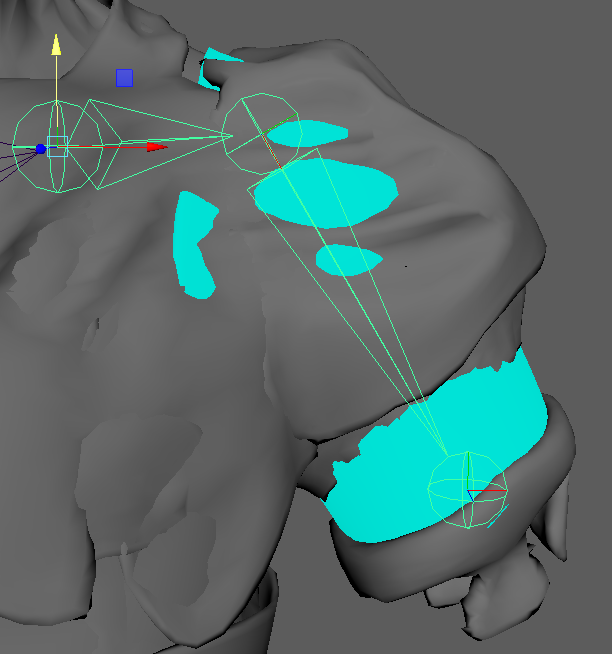
I decided to now rig the damaged arm as I would be able to mirror the joints made for this arm to start the other arm. These joints were the left clavicle, arm and elbow joints. The elbow joint doesn’t match up with where this joint would usually be located but I used it to have control of the damaged arm when I was in the animating stage.
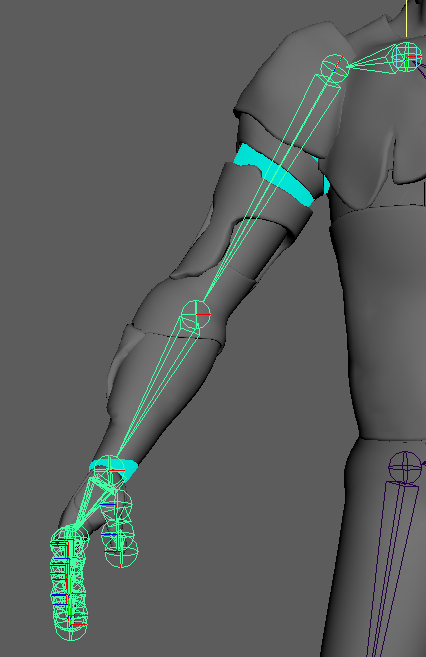
As mentioned already, I started with the mirrored joints from the damaged arm which meant I already had the right clavicle, arm and elbow joints. I had to change the position of the elbow joint to actually be at the elbow for this arm since this arm actually has an elbow and added a wrist joint as well as joints for each finger and the thumb. There were four joints for each finger and three for the thumb. After I made the first finger I duplicated the joints for the other fingers and thumb and moved them into the right positions. This process was a little tedious but it was worth it for the animations.
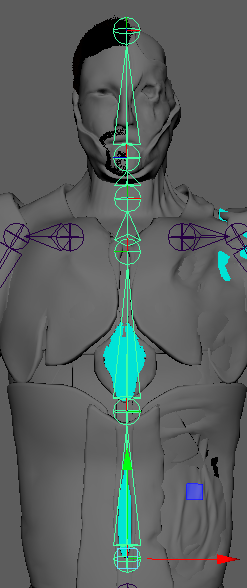
The last individual part of the rig were the spine and head joints. This consisted of three spine joints and neck, head and head-top joints.
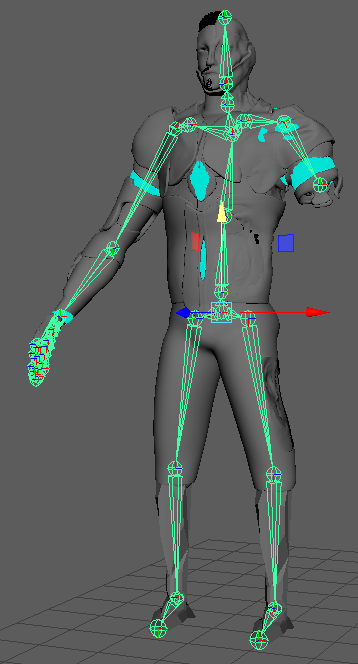
The individual parts of the rig were now complete but they weren’t connected. I connected the first spine joint to the hip joint and both clavicle joints to the third spine joint.
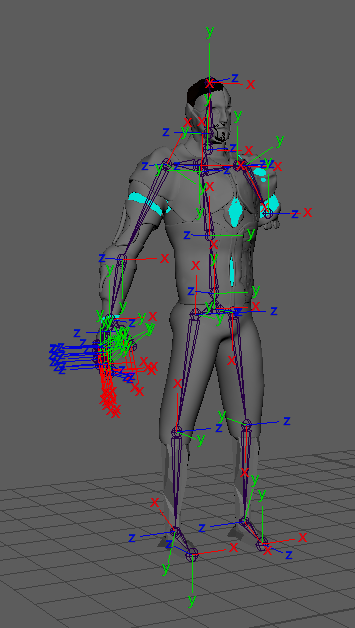
The next thing I needed to do was to orient the joints correctly to make sure the joints would move how they are supposed to. If I didn’t do this inverse kinematics wouldn’t work correctly with my character’s body parts as the body parts would bend the wrong way.
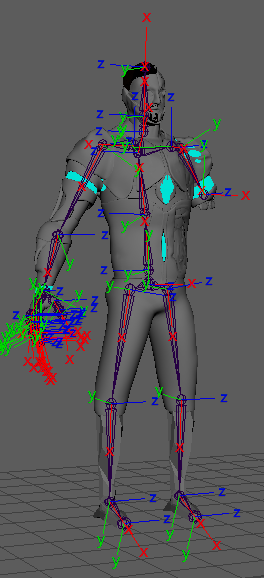
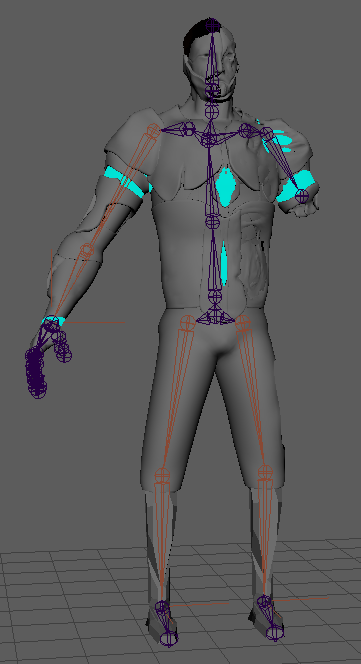
To be able to manipulate the character rig easier when animating I now decided to set up the IK handles. This would allow me to see if my rig functioned the way I wanted it to. I set up IK handles for the right arm and both legs. I didn’t need to set up the left arm as it is the damaged arm.

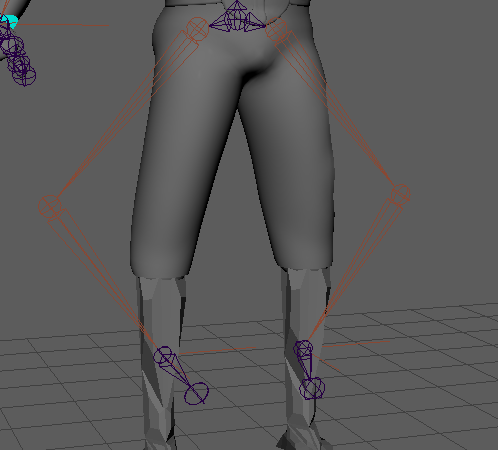
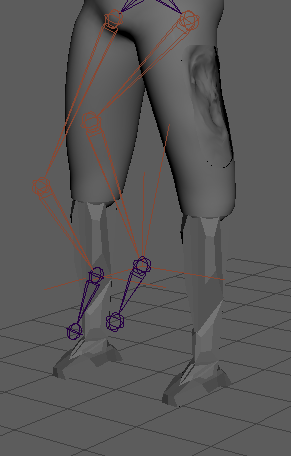
The arm IK handle worked exactly how it was supposed to but the leg handles weren’t bending the right way. This was because of how I made the leg rig in the first place as the joints need to be straight from the front and from the side it needs a bend so the IK handle knows it is supposed to go that way.
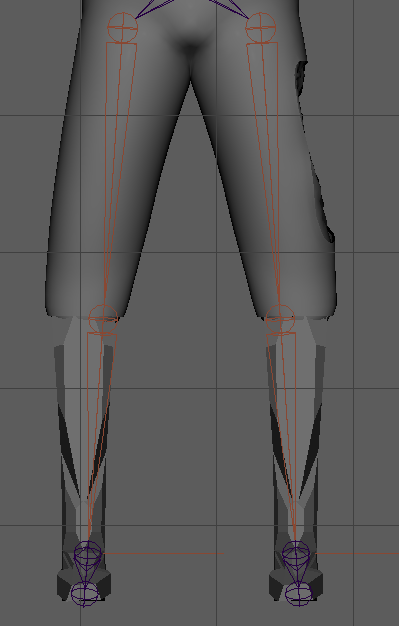
To fix the issue I remade the leg rig so that it would bend correctly. This meant I had to orient the joints and reparent the legs to the hip joint. I then made IK handles for the new legs and it worked correctly.
