Character Animation Portfolio 2: Skinning and Weight Painting
Now that the character rig is complete, the next step is to made the model be affected by the rig and to make sure it moves and distorts in the right way. This is done by skinning and then weight-painting the character.
Skinning:

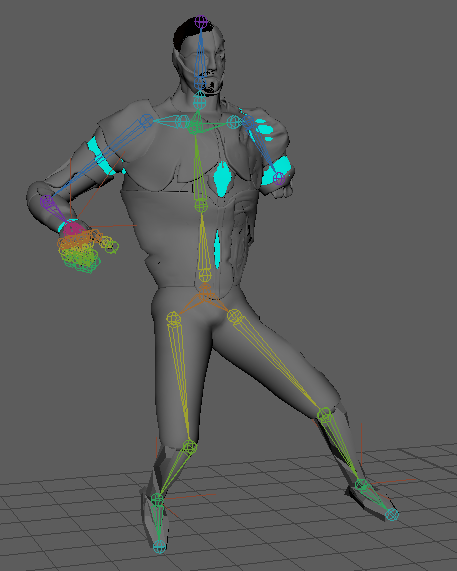
To bind the model to the rig I had to use the Bind Skin tool within Maya. To check if it worked I manipulated the arm and leg IK handles. The model was able to be manipulated by the rig but as I had not yet changed the weight painting of the rig some parts of the model were being moved and distorted by joints that shouldn’t affect them. This is mainly seen on the torso as the arm IK handle is stretching the right side of the torso.
Control Handles:

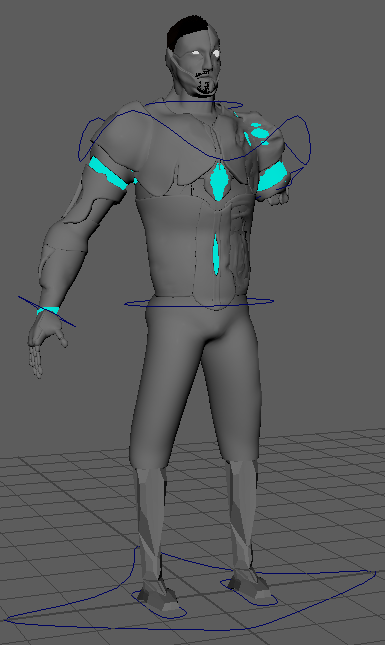
To make the animation process less tedious I added control handles to my character rig before weight painting. The handles added were arm controls, leg controls, a hip control, a chest control, a neck control and a master control. This was a straightforward process and it involved creating a new spline IK handle for the spine and then creating curves and using the constraint feature within Maya to make these curves affect the rig. The two constraints used were the point and orient constraints. The connection editor was also used to connect the Y rotation of the hip and chest controls to the spine IK handle roll and twist values respectively.
Weight Painting:

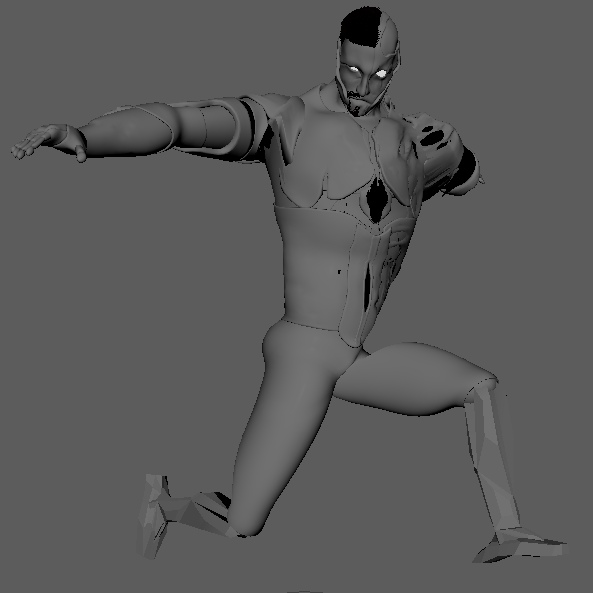
The main issues with my character’s weight painting were the torso and the head as they were being affected by joints that shouldn’t be affecting them. This caused the head and torso to distort in unwanted ways when the character rig was manipulated. To fix this I had to adjust the weight values of the areas being affected for the joints causing the issues. The torso issue was caused by the arm and elbow joints as it had values attached to the side of the torso. I removed a lot of the weight values here and used the smooth function of the weight painting tool to make the distortion better. The head issue was caused by the multiple head joints all affecting the head with different values. To fix this I made it so the neck joint was the joint that had all of the weight for the head area.

The weight painting was mostly successful in fixing the issues I was having with my character but it wasn’t perfect as the arm distortion for when the character’s arm is lifted isn’t quite right. This is because of the way I created my character as the different armour layers were combined to the base mesh. If I changed how the distortion is in the image above, holes were created in the character mesh around the armpit area. I tried to fix this with multiple retopology methods but due to various issues with my model these weren’t feasible. I could’ve manually retopologised the character but I didn’t think this issue was big enough to go through that tedious process as it shouldn’t have too much of an effect on my animations.