VFX and Post Production 3: Visual Effect Exercises and Explanation of VFX Piece
VFX Exercises
Basic
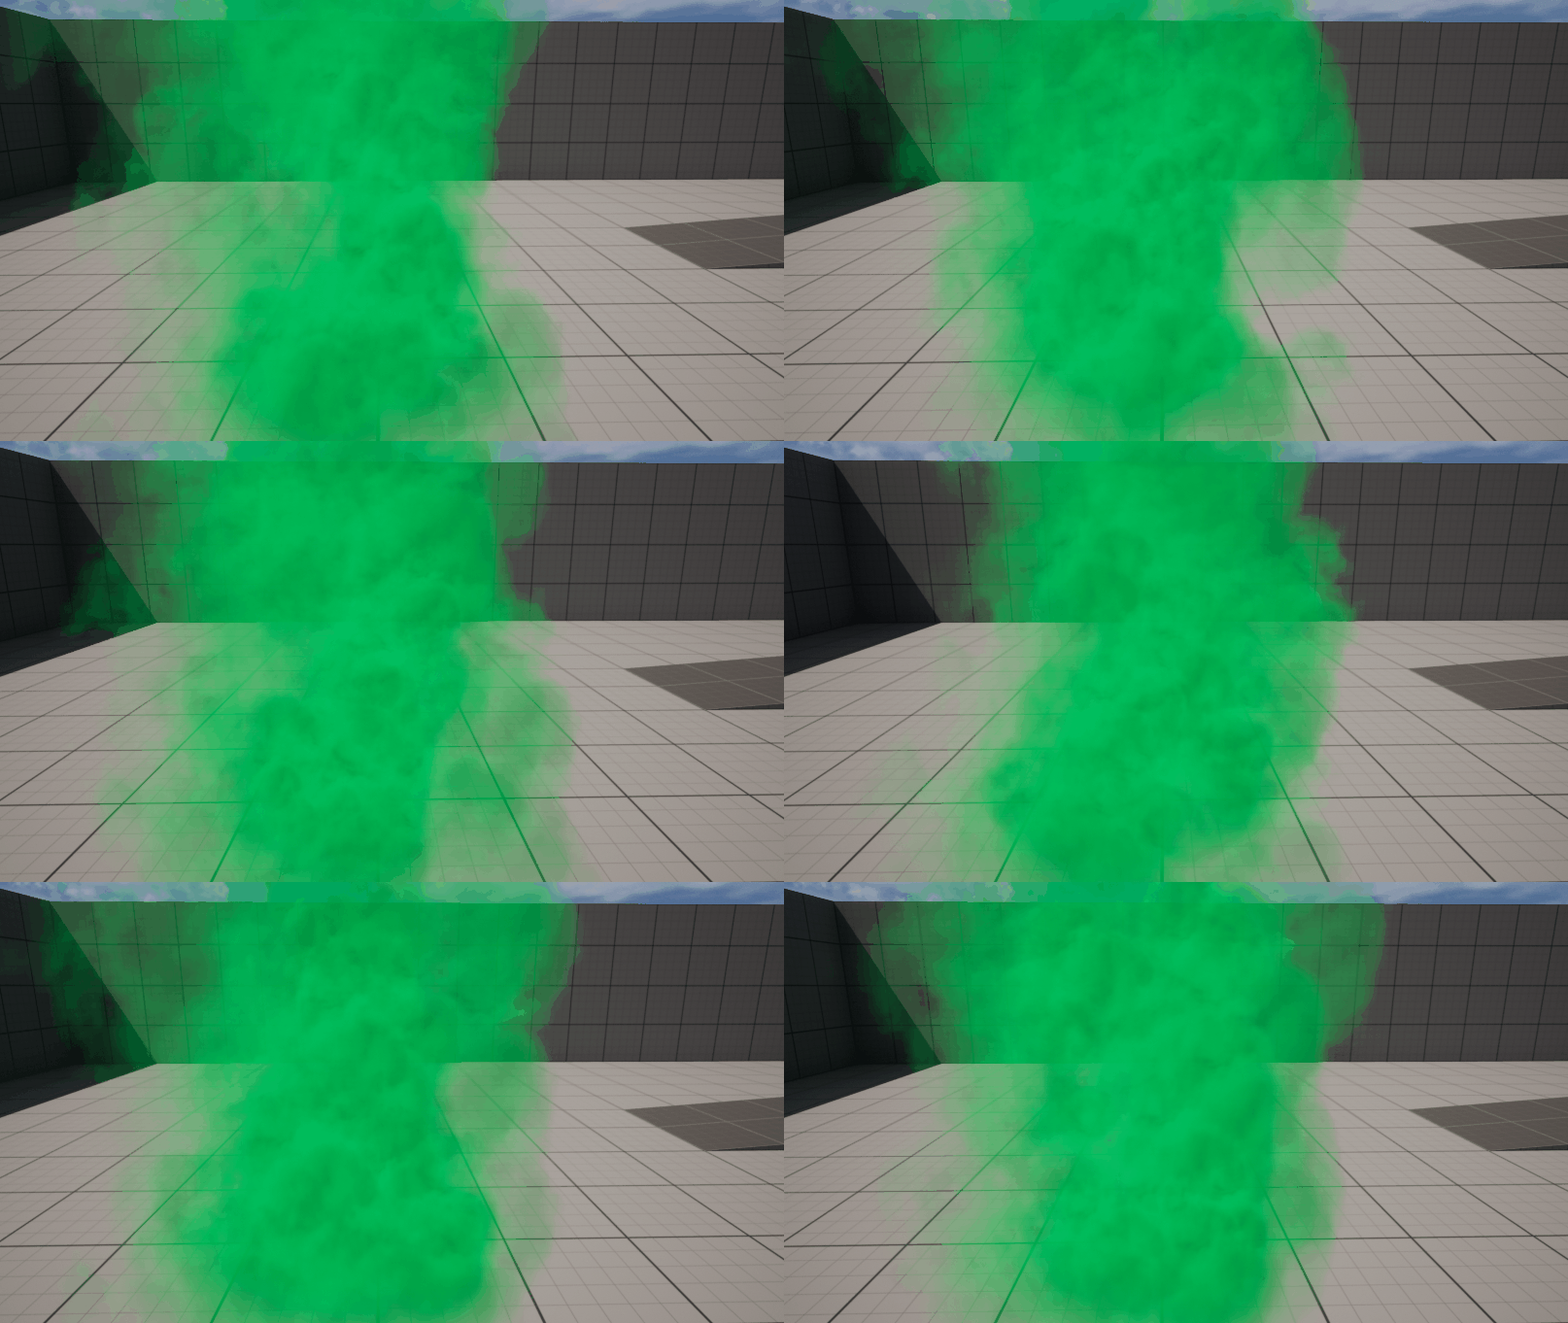
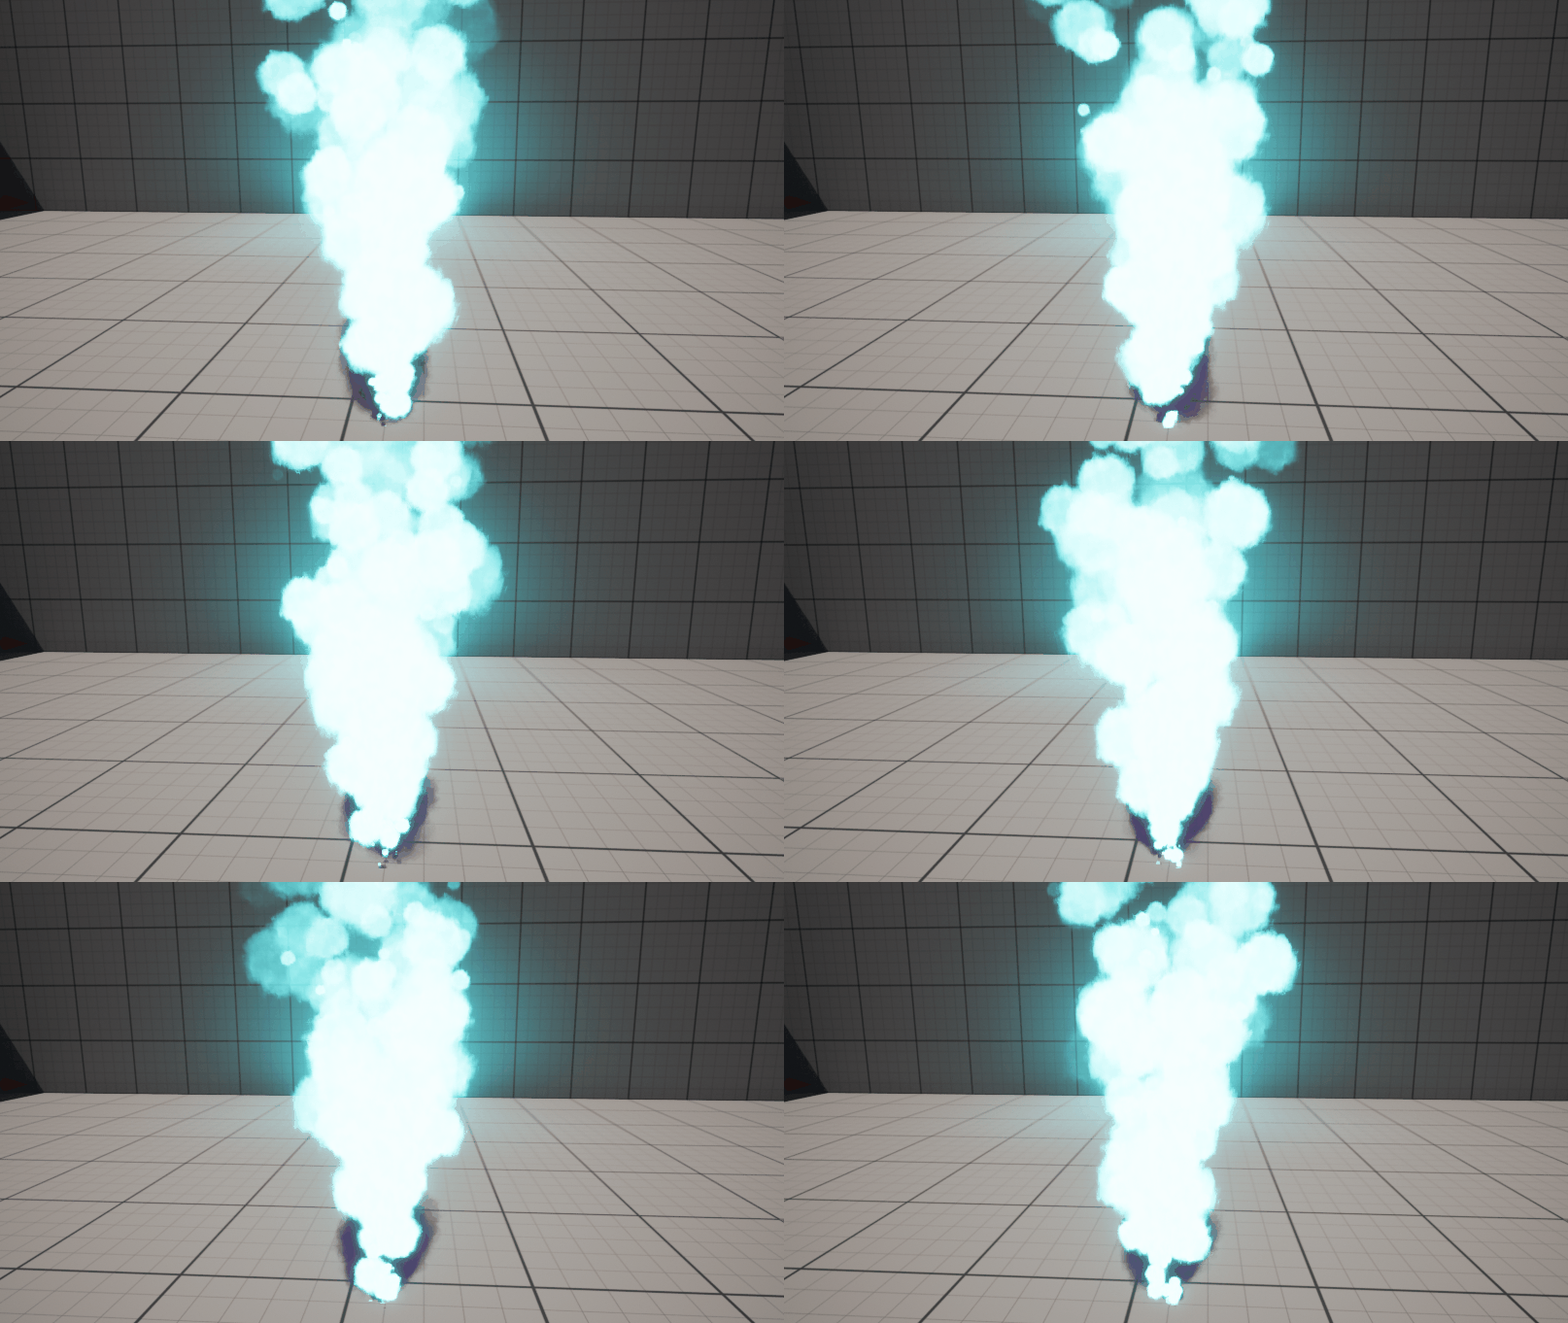
To start learning how the Niagara particle system works and how I could use it within my VFX piece I started by making some basic Niagara particle systems by following the tutorials provided to me. The basic particle systems I made were green smoke and a blue fire with purple smoke using sprite-based emitters. I changed the colours to add my own flair to the particle systems.
Intermediate
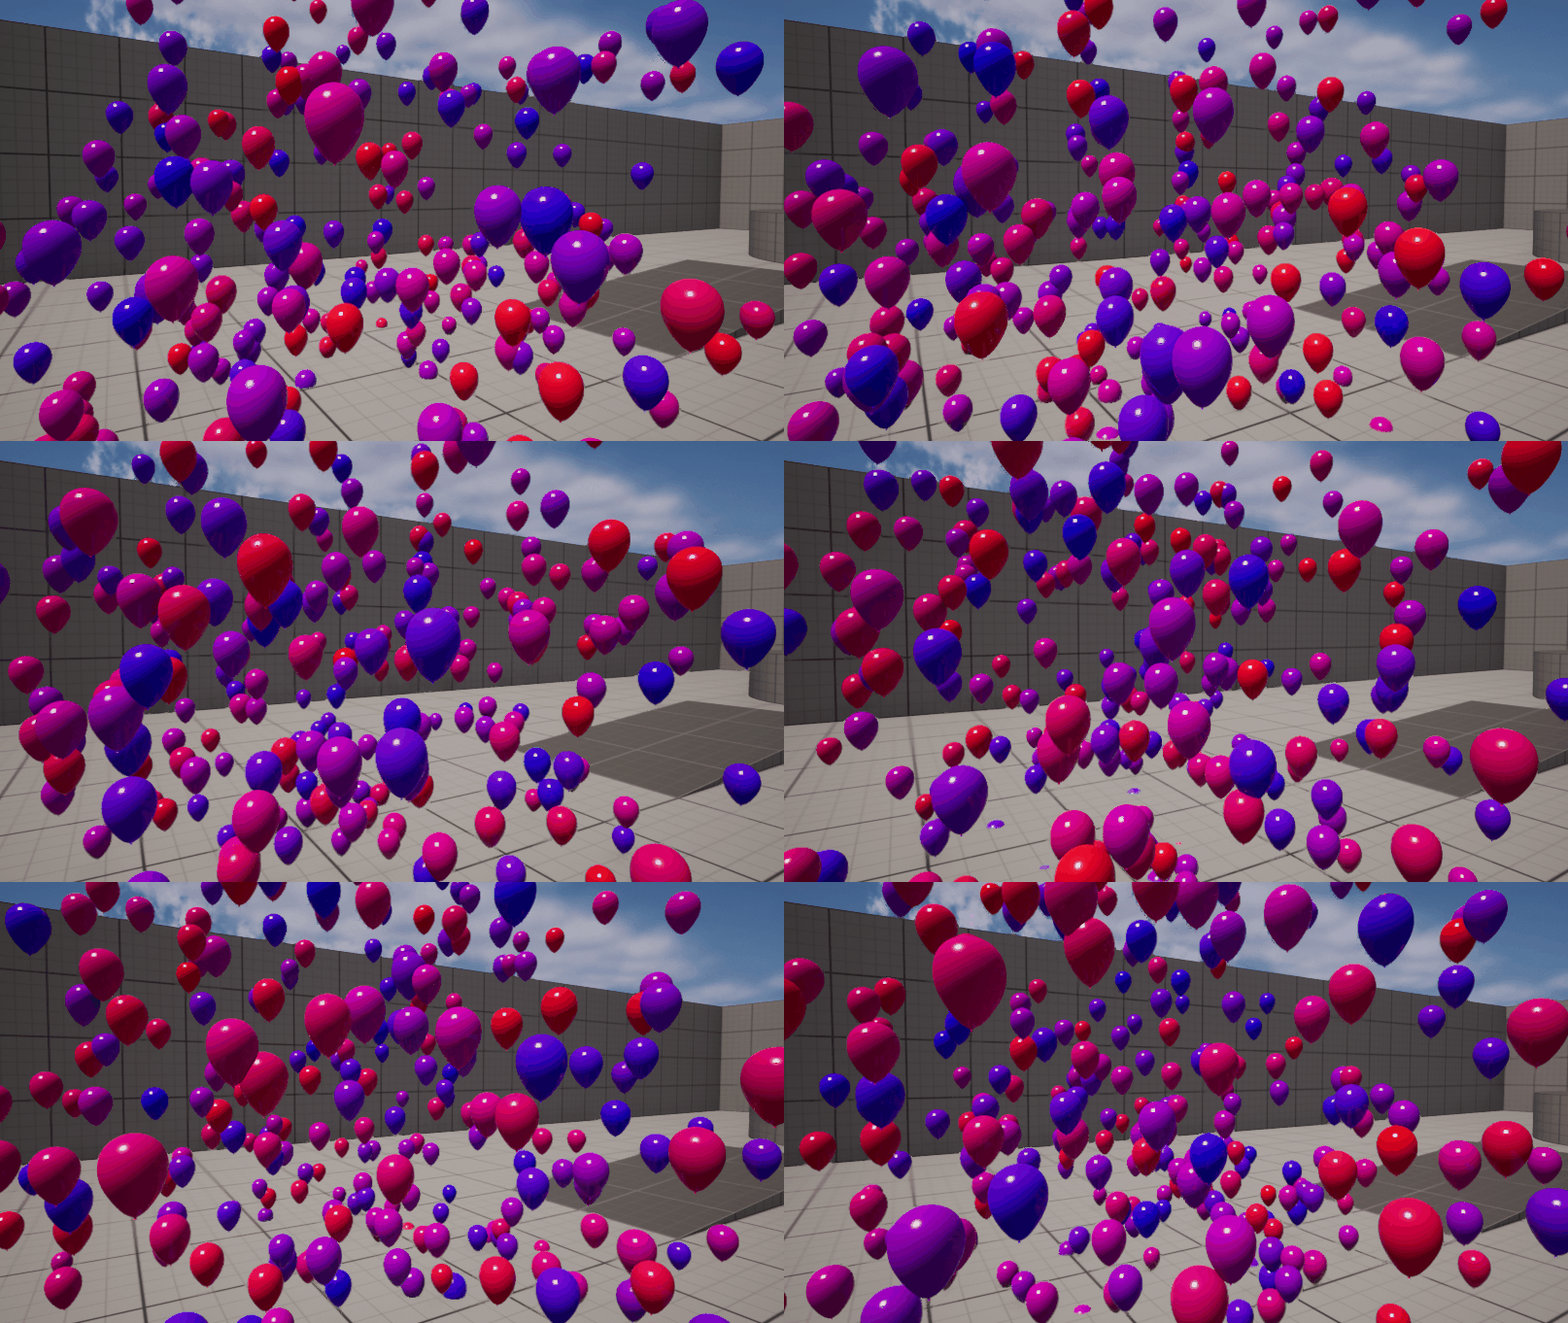
Another facet of the Niagara particle system is the ability to use a mesh in the particle system in place of a sprite. I followed another tutorial to make a balloon particle system based on a balloon mesh that spawned balloons of different colours based on the values set in the particle system.
Advanced
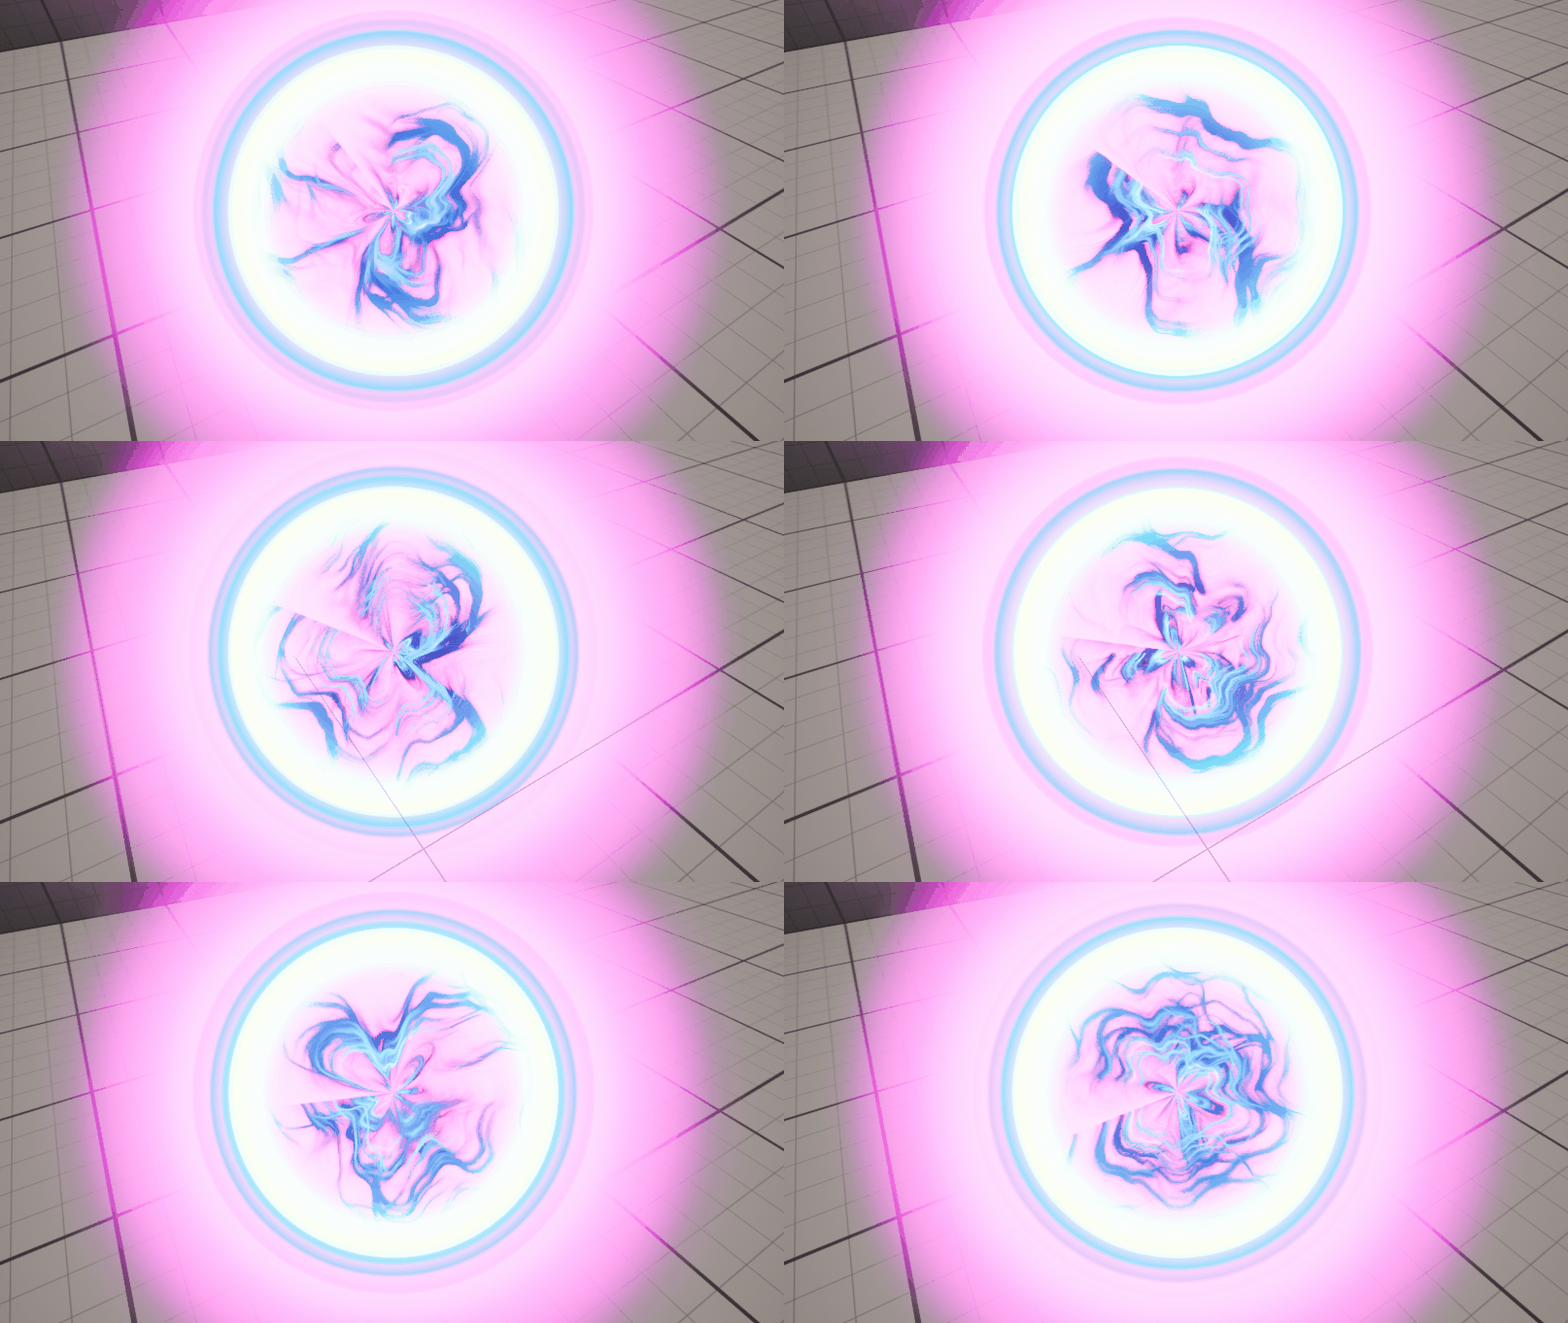
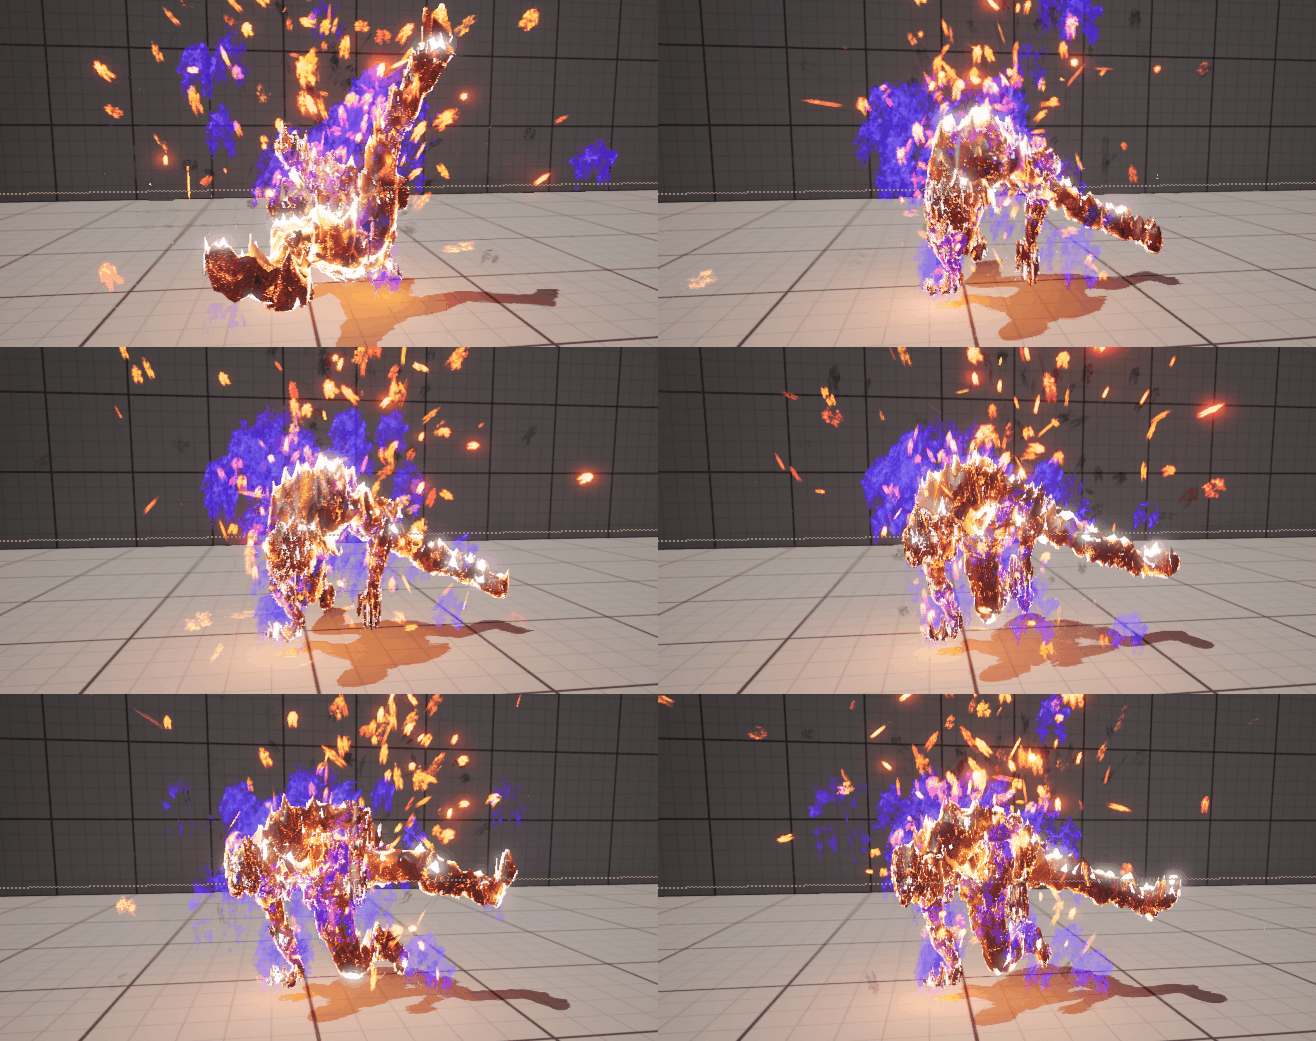
For more potential for how I could implement VFX into my final piece, I decided to also follow the advanced VFX tutorials to create a portal particle system and a particle system that emits fire from a skeletal mesh. Both of these systems allowed me to explore how materials can assist in making more interesting and unique particle systems. I decided to test the skeletal mesh fire system on a skeletal mesh that wasn’t included in Unreal Engine by default with a custom animation from Mixamo to see how this would look.
This exploration of the Niagara particle system gave me ideas of how I could further develop my VFX in my final piece. For example, I could use a mesh particle emitter to add gore to my blood VFX to improve the impact of that visual effect. It also improved my confidence in being able to make VFX that matches the ideas I had for my piece.
Explanation of VFX Piece
Animations
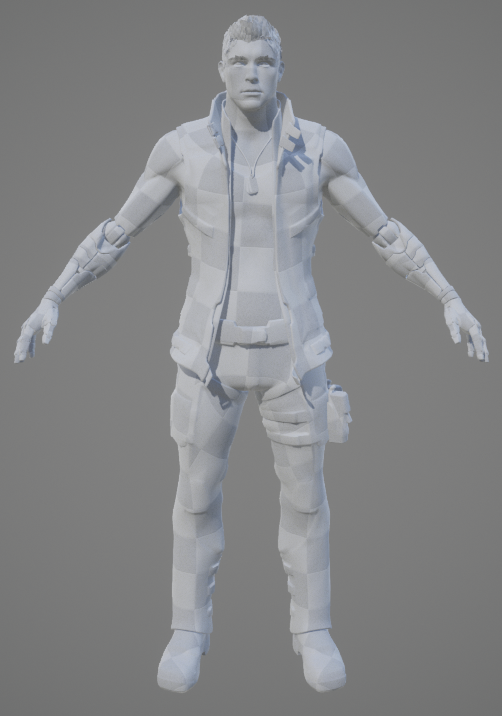
The animations in my final piece will consist of free to use Mixamo animations which I will implement into the piece using the sequencer. The Unreal sequencer will allow me to easily time and blend these animations as I have prior experience with the Unreal sequencer. Through some experimentation, I was able to get a model from an Unreal Engine asset pack to work with Mixamo animations by using the auto-rigger on the website. I had to edit the model slightly in modelling software as a gun was included in the model by default which I didn’t need for this character. I also used this model when doing the advanced skeletal mesh particle system. I researched what Mixamo animations there are available while making my storyboard so that it the actions were mostly feasible to what existed on Mixamo although there are some actions I may have to animate myself.
Lighting
My piece will mainly use high-key lighting as my piece is set during the day. However, I may be able to implement low-key lighting when the second character of my animation is launched through a wall and weakened as that area will be an interior and so I can have a lack of lighting. It will help to make the outcome of the fight more hopeless for the second character.
Sound
I will implement royalty-free sounds into my piece within the sequencer or animations to make sure they are correctly lined up with the timings of the animations. It would be easier to make the sounds included in the animations themselves as it means I wouldn’t have to put the sounds in the sequencer for every use of the same animation as it would be included by default each time that animation is used. I may implement background music using editing software instead to make sure it doesn’t overlay all the other sounds but I may not include music.
Post Processing
Using the post processing feature in Unreal, I am able to use the colour grading tools to change the feel of my different scenes. This can be helpful for when I want the piece to have a darker atmosphere. I can also use colour grading to make the world of my piece feel more dull and depressing to hint at the kind of world that my piece takes place in.
References
Mixamo (n.d.) Flair Dance Animation 1 [Animation]. Available online: https://www.mixamo.com/#/?page=1&query=flair [Accessed 3/1/2023].
