UV Editing in Maya
First Task
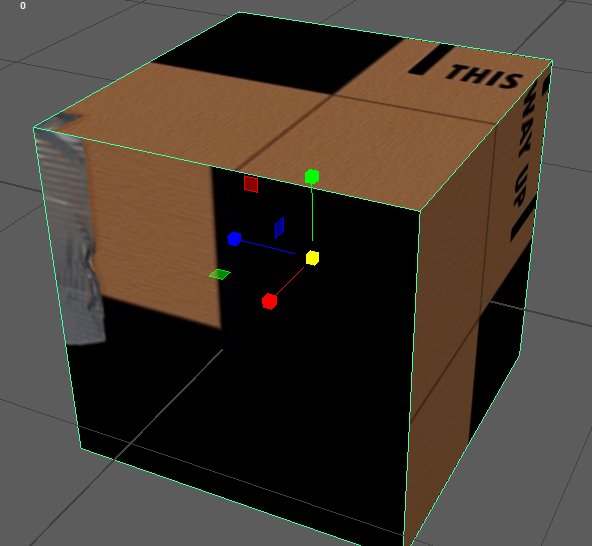
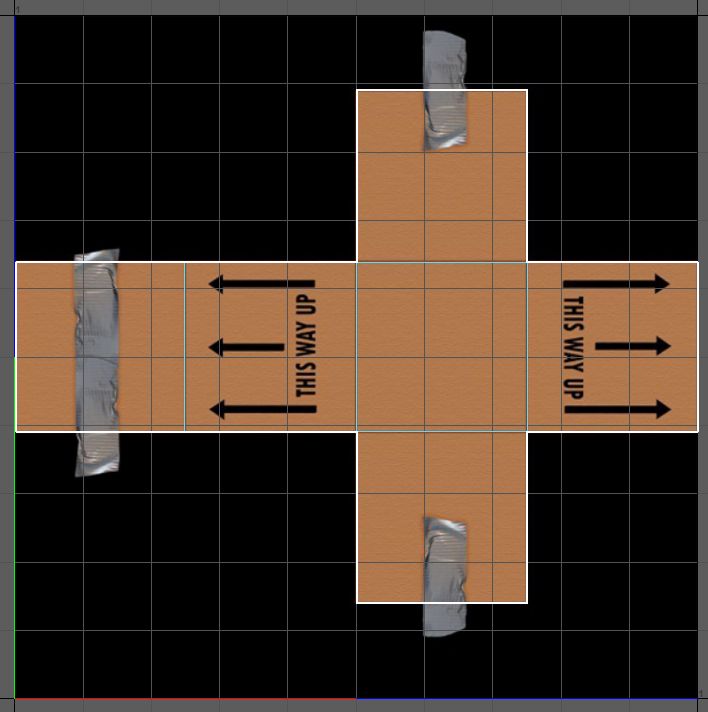
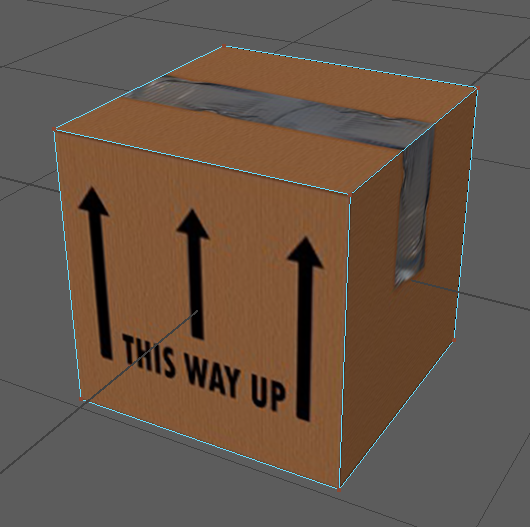
For the first task this week, I had to add a simple texture to a cube in Maya and then edit the UV of the cube so that the texture would match up correctly. To do this I first created an automatic UV so that I could start to edit it. To match the UV to the texture I selected each edge of the UV shells and used the move and sew tool so that the UV shells would be connected. After this I selected the UV points of the shells and moved them so that they lined up with the texture edges. After doing this the box texture matched up correctly.
Second Task
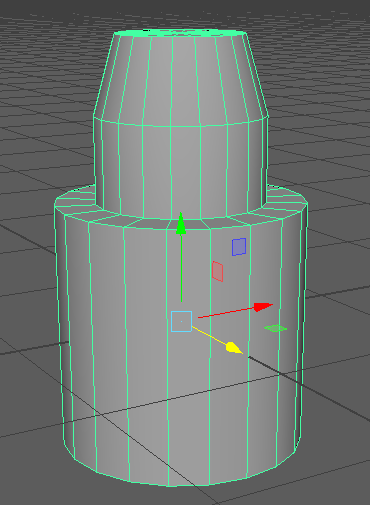
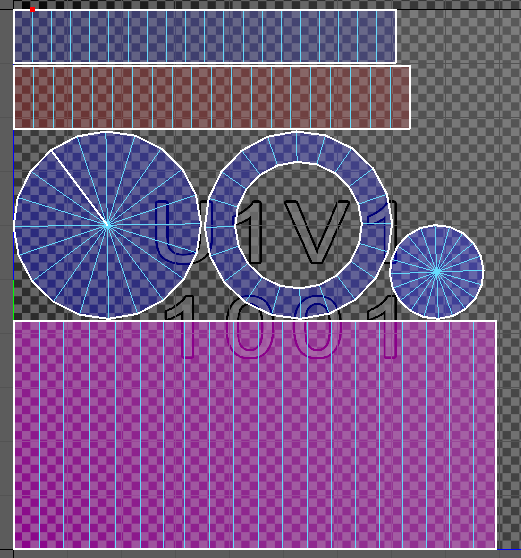
For the second task, I had to experiment with making a UV for a more complex model (shown above). To do this I made a UV based on the camera position. After making this UV, I had to add 3D cuts to the UV using the 3D Cut and Sew UV tool so the different shown parts of the model would have a different UV shell as shown below. I then had to unfold the UV shells so that I could add a texture to the model later. Some parts of the UV unfolded on an angle or with a curve so I had to edit them a little bit. For most of it, all I had to do was use the straighten UVs function but for the curved part that wouldn’t work correctly. To do that part, I had to first scale the edges of the UV shell so that they were flat. The left and right edges had to be moved a little so that the UV was still inside the shell properly. To make sure that the UVs could now be straightened I used the pin function of the left and right edges and then unfolded the shell again. This made it so the UV shell could now be straightened correctly after unpinning the parts of the shell. When I unfolded the UV for the bottom cylinder, there was an issue with the UVs in the shell as the circle from the bottom and top of the cylinder had UVs on the shell for the side faces as well. To solve this I deleted the extra UVs in UV select mode and then used the solution for the curved UV shell to make sure this UV shell also straightened out correctly. I then used the layout function with 5 pixel shell padding to make sure the UV shells were properly spaced out.
Final Task
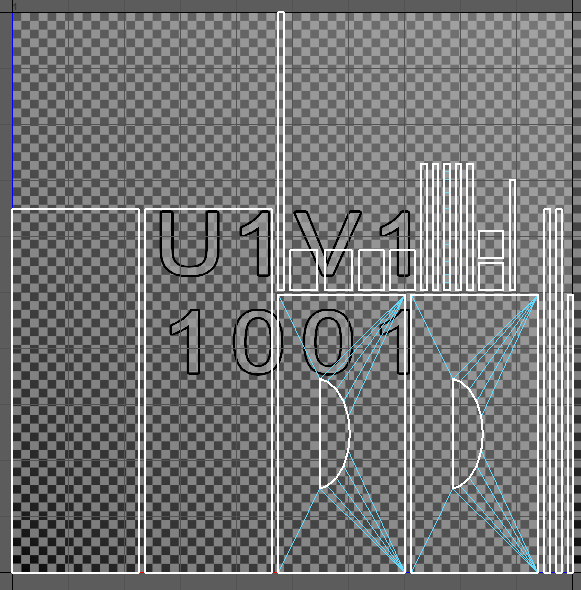
For the final task, I had to create a UV of one of my previous projects: the low poly model from the HP and LP model exercise. This wasn’t very complex to do as I created an automatic UV from the different parts of model. There was a minor issue with this as the faces on the inside of the handle hole didn’t count as one UV shell. To rectify this, I used the stitch together function on the edges that were between the unconnected faces. To make sure that all the UV was consistent on all the parts I had to change the Texel Density of the UV to 5.12. I also had to use the Layout function to make sure the different UV shells didn’t overlap. The only problem after doing this was that the UV shells were too close together so I added a shell padding of 10 pixels to the shells by navigating to the modify tab in the UV editor and changing it in the layout menu. This created the UV shown above.