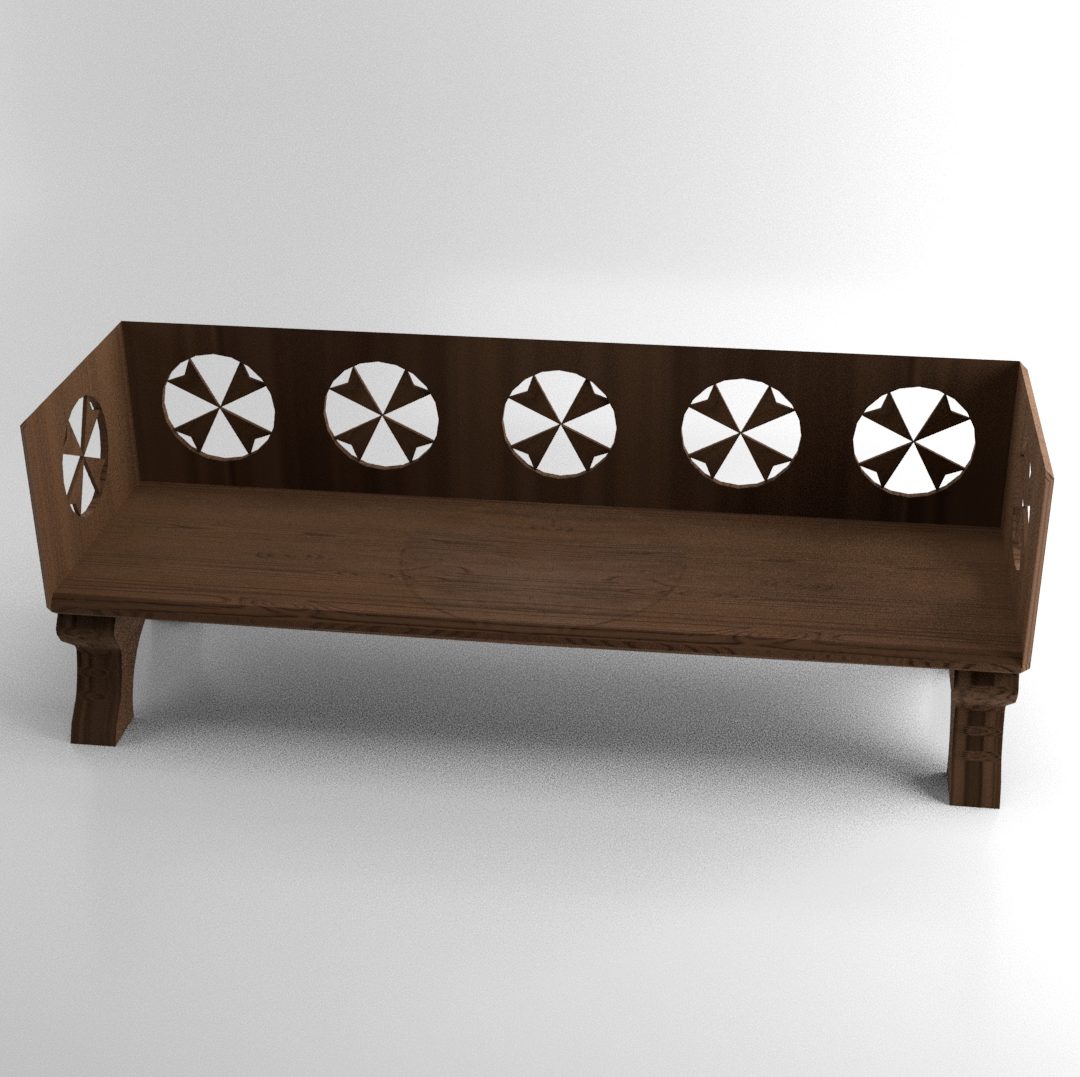
3D Asset Design Assignment Post 15 – Additional Notes (Bench)
Oak Medieval Style Bench | Handmade Bespoke | Authentic 16th Century Style  Boarded Seating
Oak Medieval Style Bench Image, N/D
3D medieval bench model - TurboSquid 1394145
3D Medieval Bench Model Image, 2019

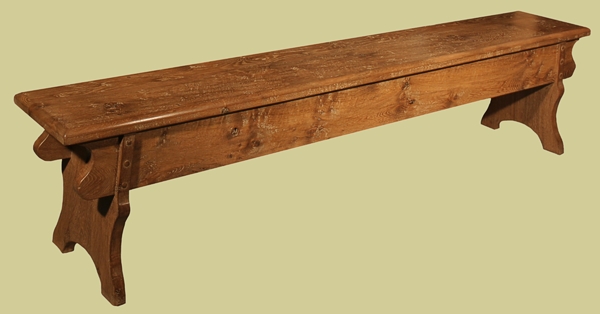
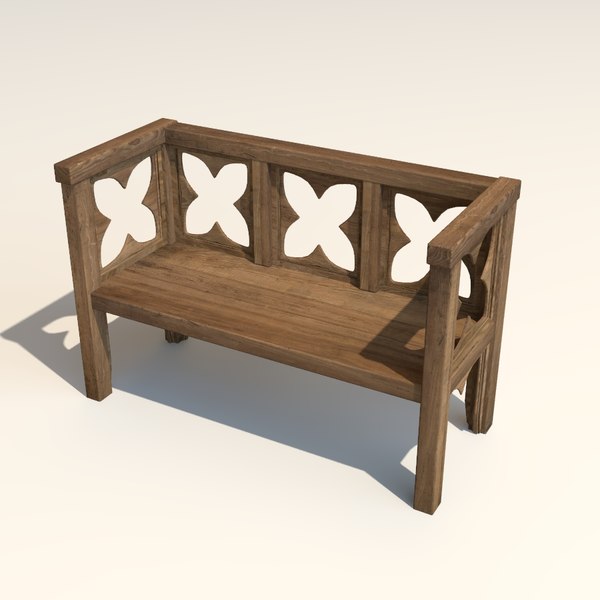
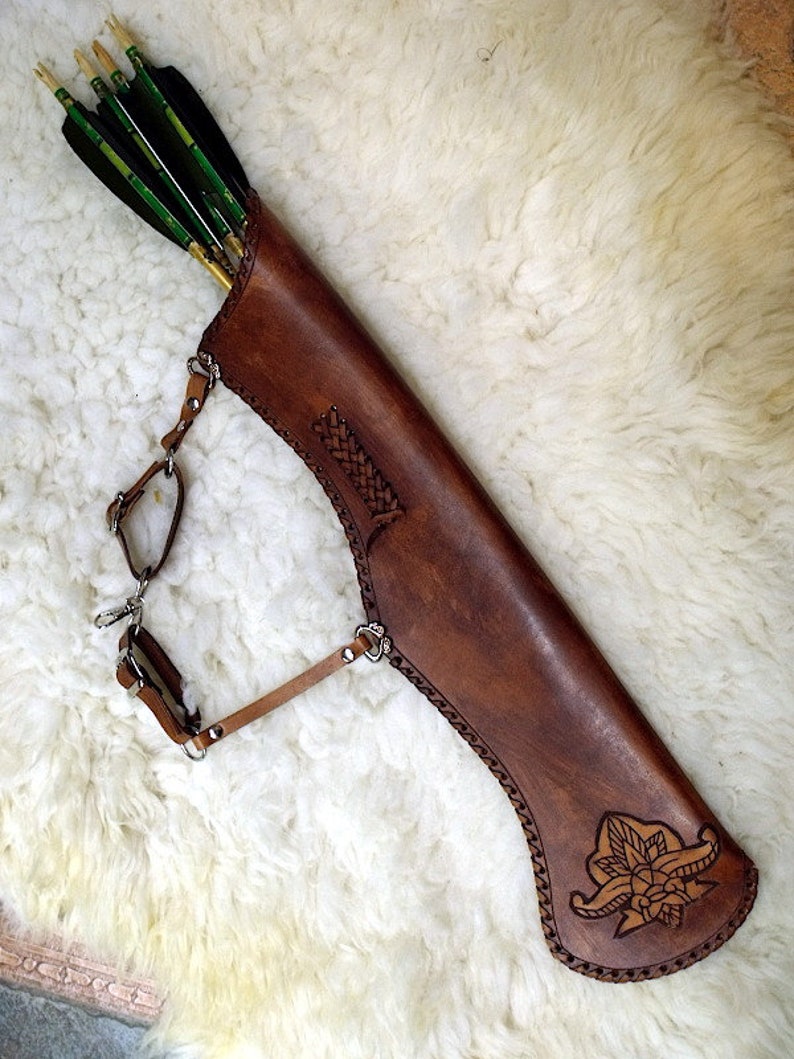
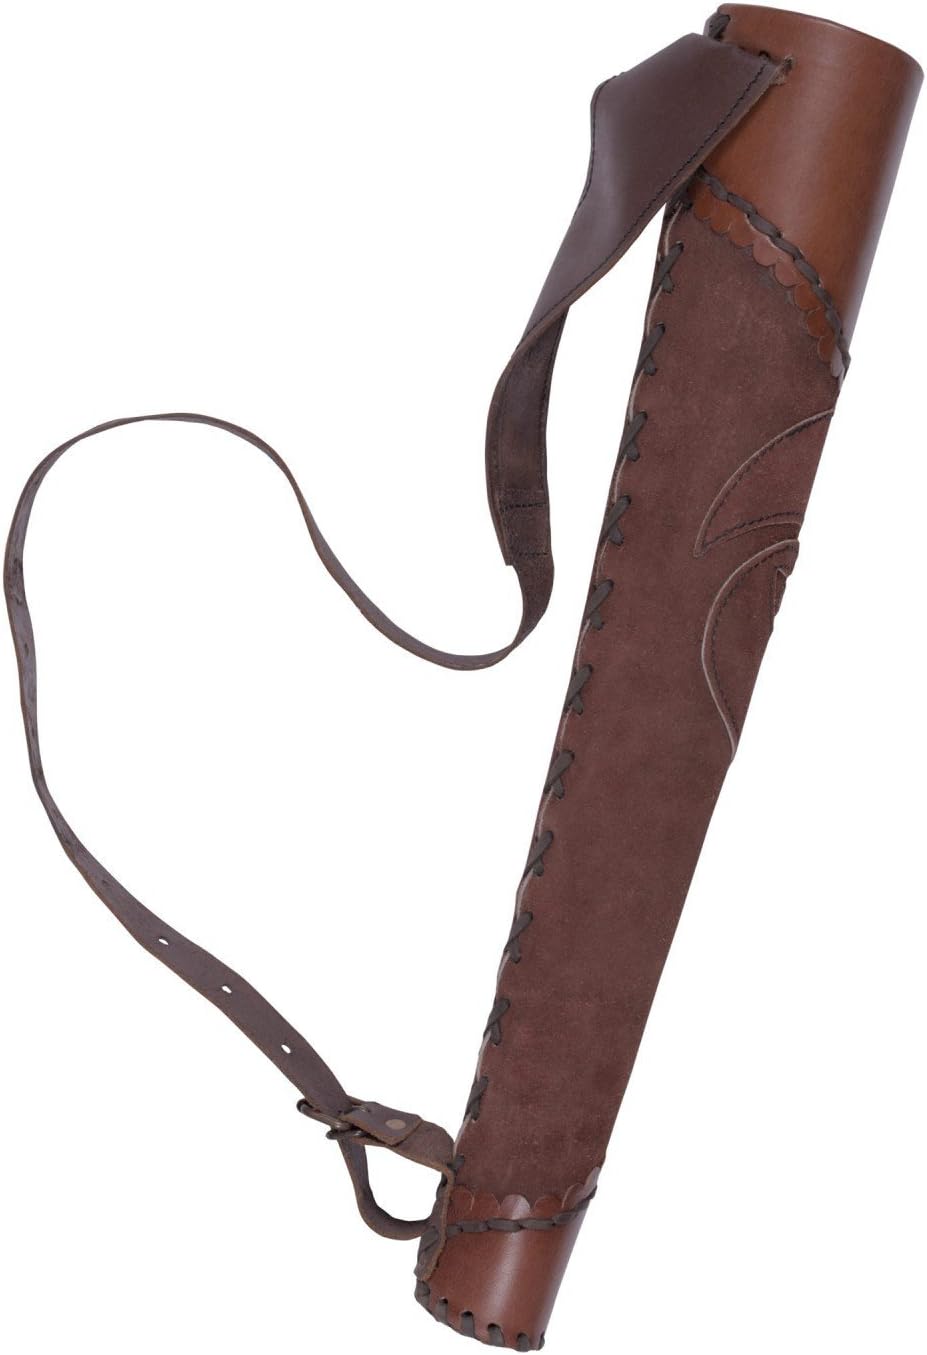
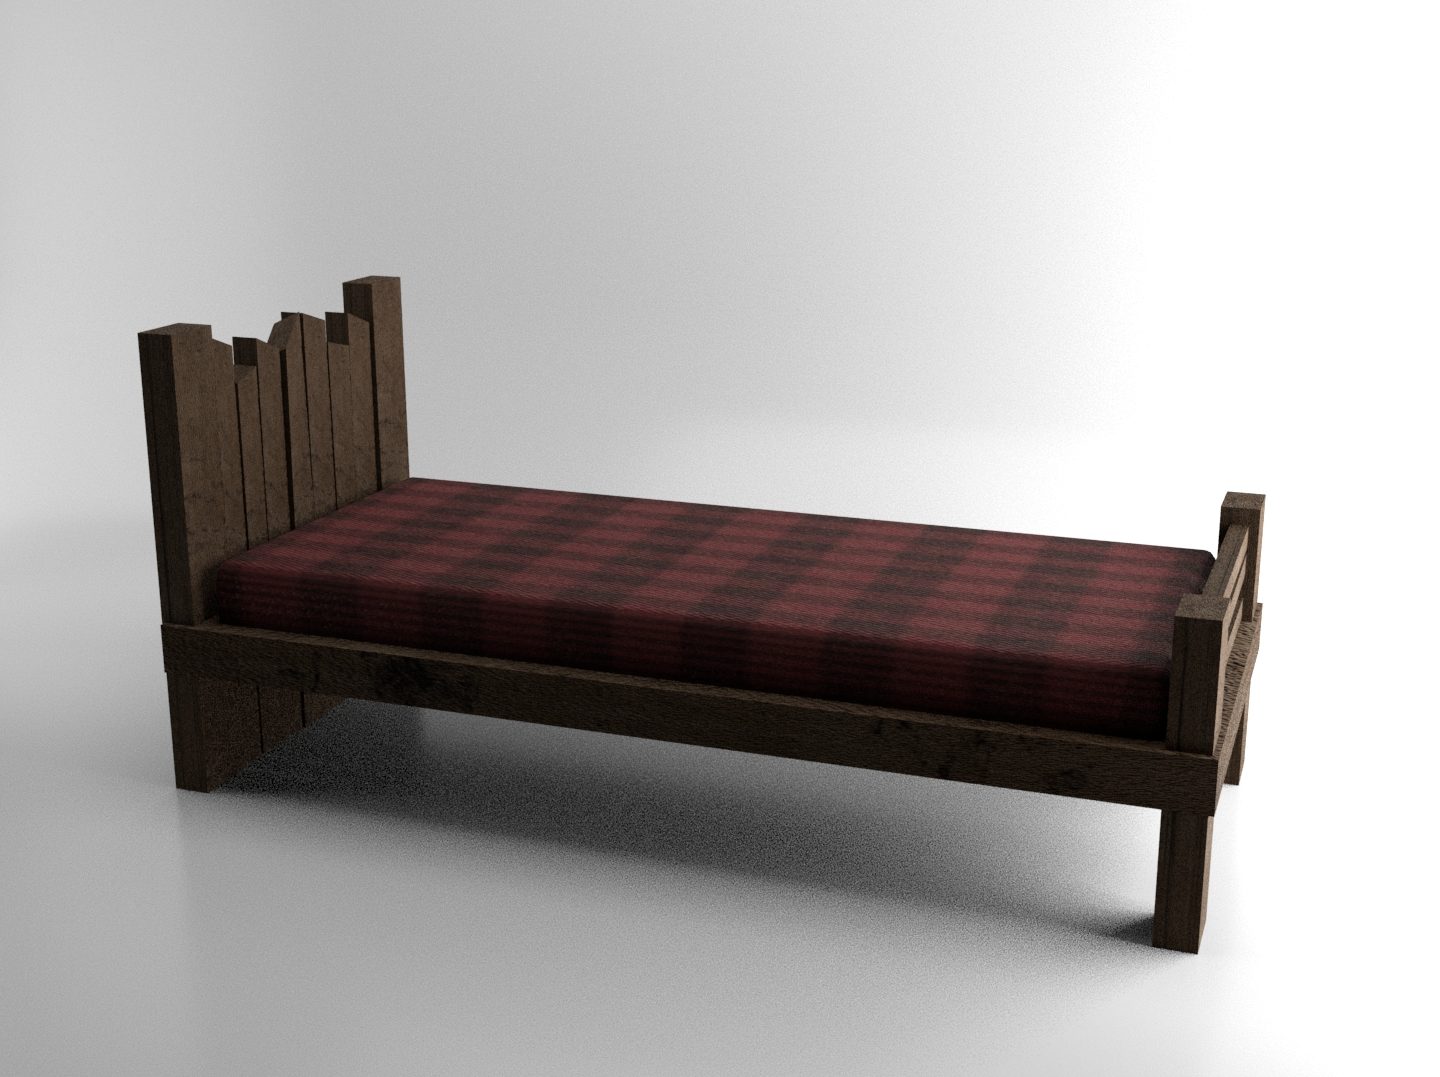
For my references for this model, I chose two very distinct benches so that I could pull inspiration from both of them for the different aspects of my model. The legs of the left image and the backrest design of the right image were the main parts of the images that I took inspiration from for my design.

Final Bench
Final Bench Wireframe

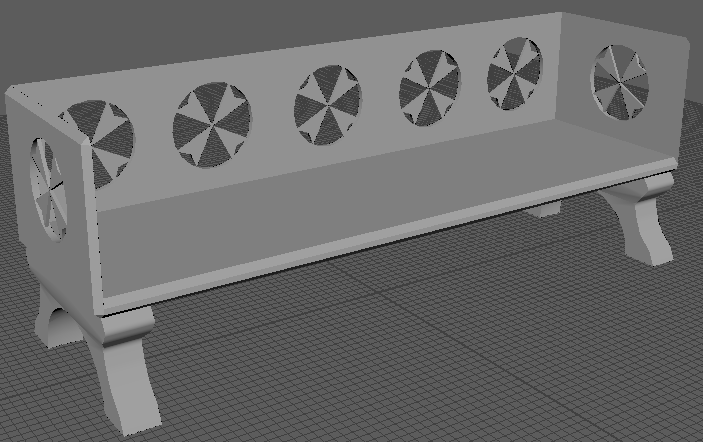
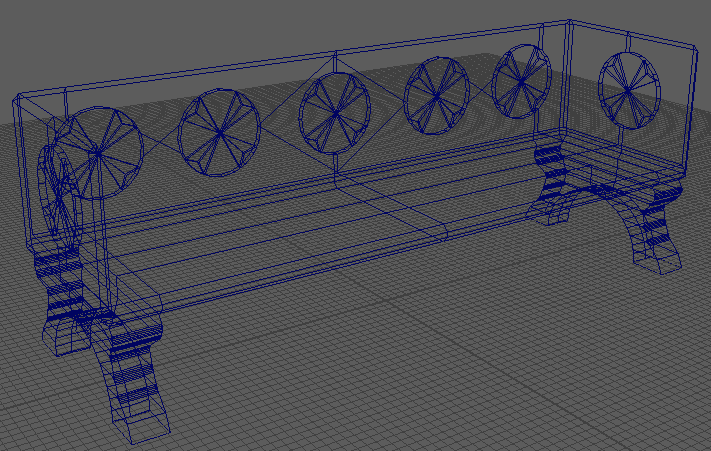
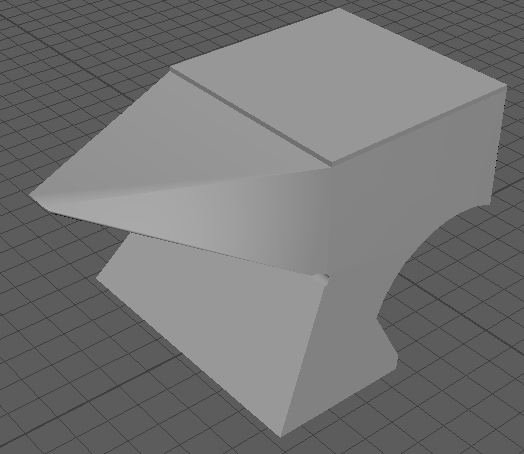
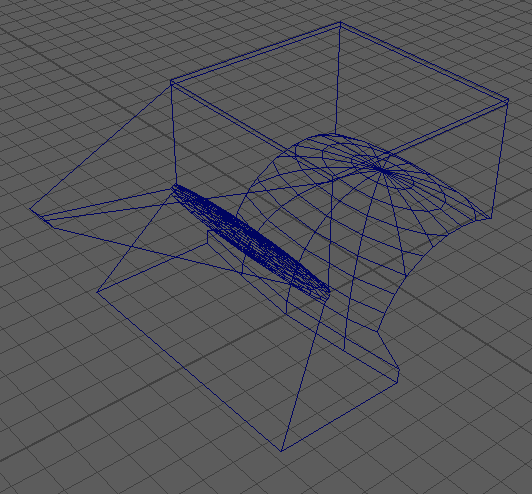
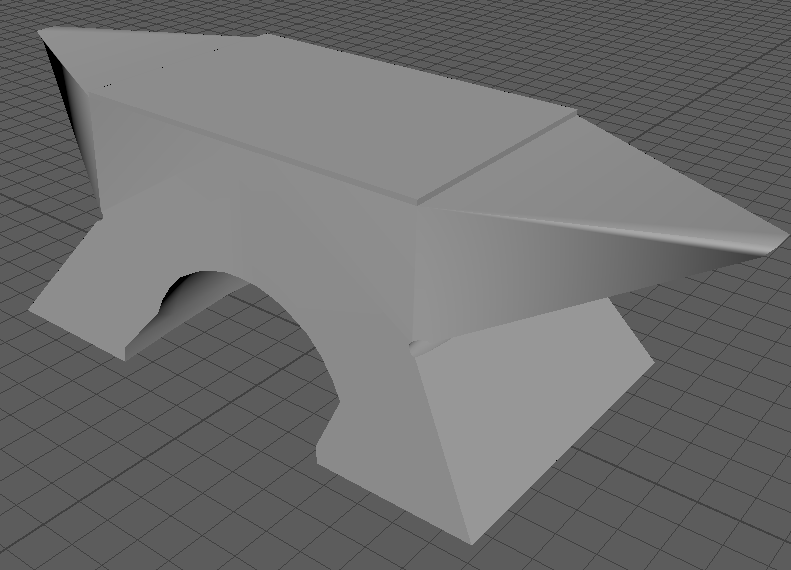
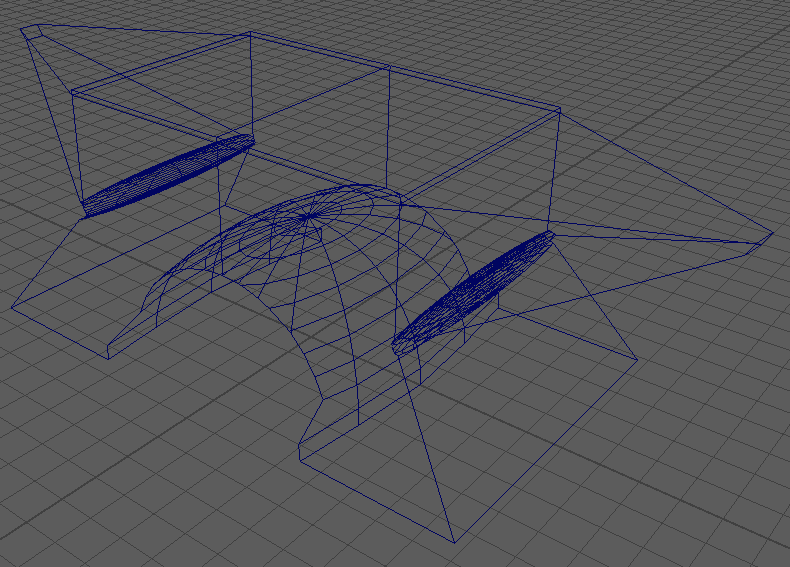
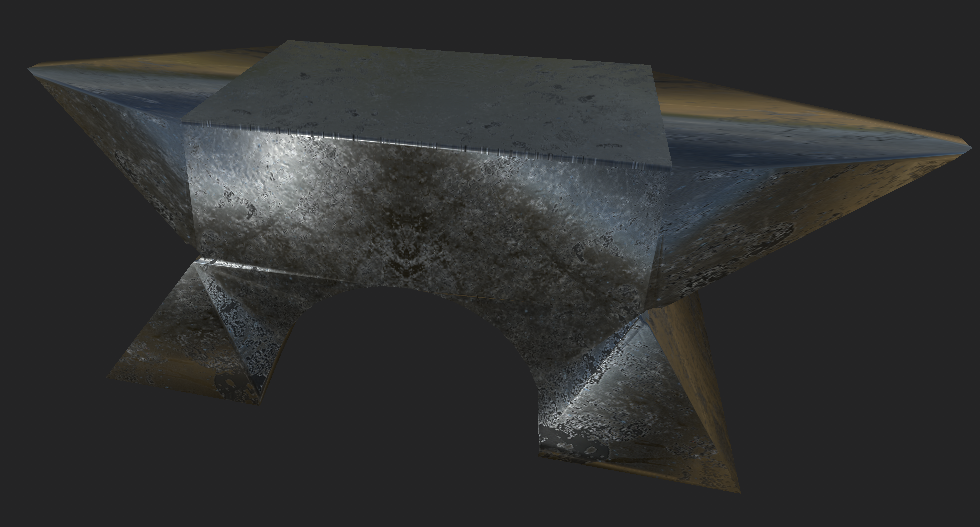
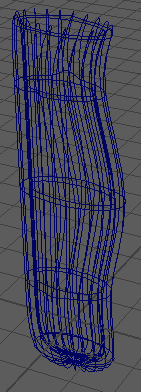
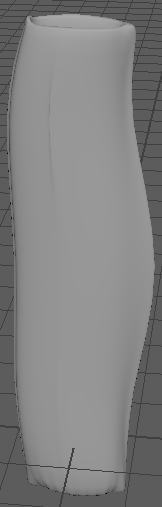
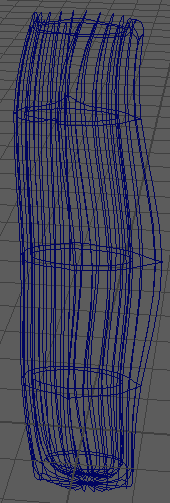
I started with a cube for this model which I used the scale tool and bevel tool on to create the seating part of the bench. I then extruded the bottom face of the ‘cube’ so that I could start making the bench legs. I used the multi-cut tool to allow me to scale down the extruded part to the width that I wanted the bench legs to be. The multi-cut tool was also used to add edges down the front of the legs so that I could use the bevel tool to add curves to the legs. Half of the part I was using to make the legs was deleted so that I could mirror the side I made changes to so I didn’t have to repeat the process of making the curves on every leg. After mirroring the bench leg that I had finished I used the boolean difference feature to cut a modified sphere hole in the bench leg part which created the gap between the two legs on a single side. To create the side rests and backrest of the bench, I extruded from some of the faces that were created when I used the bevel tool on the original cube. I then used modifier cylinders and the boolean difference feature again to create the design on the backrest and side rest. After this was done, I mirrored the completed half of the bench and the bench was complete.

Final Bench Textured

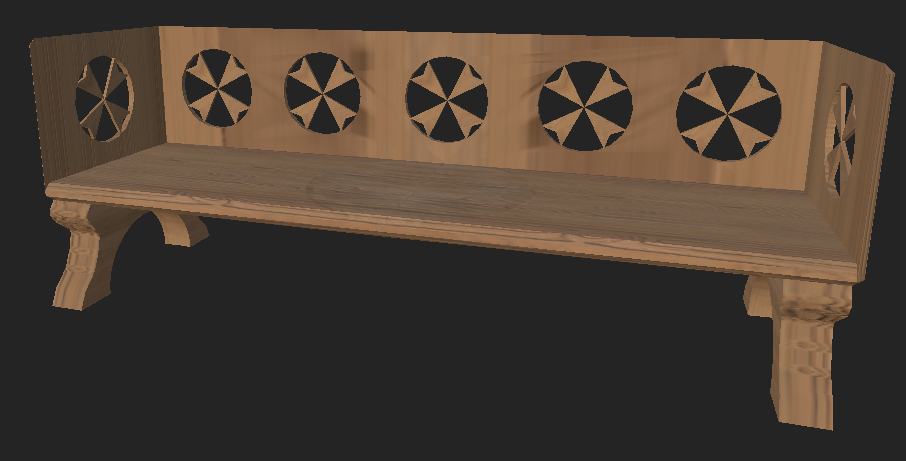
The texture for this model was created in Substance Painter. It was created using a smart material known as Wood Ship Hull Nordic.

3D Asset Design Assignment Post 14 – Additional Notes (Armour)
Medieval Armor (#1749) - Darksword Armory
Medieval Armor #1749, N/D
Blackened Ortwin Cuirass
Blackened Ortwin Cuirass Image, N/D

For the reference images for the armour, I went for quite simple pieces of chest armour as I didn’t want to go too outlandish with this model. I mainly wanted to see different designs on similar pieces of armour so I could incorporate parts of these designs onto my own 3D model armour piece.

Final Armour
Final Armour Wireframe

I started with a torus shape for this model and then deleted all but one section of faces to create the curve in the armour. I then used the multi-cut tool to cut this section in half and deleted one of these halves so I could mirror the model later. I extrude from one side of the model and used the move tool on the new vertices to start creating the shape of the side of the armour. I then used the mirror tool to duplicate the front of the armour to create the basis of the back. I used the move tool again to manipulate the shape of the back so that it didn’t have as much as a curve as the front. The boolean difference tool was then used to create the arm hole for the sides and I used the mirror tool again to create the other side of the model so that the full chest piece was created. I then used a combination of the move tool, multi-cut tool, extrude tool and merge to center function to add some details to the armour so that it wasn’t completely flat.

Using Substance Painter, I added a Steel smart material onto the armour model.

3D Asset Design Assignment Post 13 – Additional Notes (Tent)
Norman Tent
Norman Tent Image, N/D
Soldier Triangle Tent Image, N/D

These two reference images were used as a basis for my 3D tent model design. I mainly based my model on the left image but I did take some aspects from the right image though they were minor influences. The left design appealed to me more because I could use this tent model as a place to display most of the other models.

Final Tent
Final Tent Wireframe

I began this model by creating a cube and scaling two edges of the top face of the cube into each other to create a triangular prism shape. I then used the multi-cut tool to add an edge through the shape which allowed me to edit the shape. I then deleted the faces that I didn’t need for the final model and used the move tool to create the top part of the tent by moving one of the sides away from the other. After this I began using the extrude tool and continued to use the move tool to create and shape the rest of the model and added loop cuts to keep the shape of the model when I made it smooth.

Final Tent Textured

Substance Painter was used to texture this model. The tent has a smart material called Fabric Dobby Aged applied to it while the wooden parts holding up the tent has a different smart material applied to it known as Wood Beech Veined.

3D Asset Design Assignment Post 12 – Additional Notes (Anvil)
Anvil - Wikipedia
Anvil Image, N/D
Lucas Bori - Medieval Anvil
Anvil Image 2, N/D

These two images are the reference images I used for the anvil. I chose two different anvil designs to draw inspiration from so that I could use aspects from both of these anvils in my 3D model. I based the top of my anvil on the right image while I took inspiration from the bottom of the left anvil for my model.

Half Anvil
Half Anvil Wireframe

To create my anvil I first started with a cube and then used the multi-cut tool on one of the side faces to cut the face in half. I then extruded from the top half of the cut face and merged all four of the vertices on the extruded face to the center of them all which created one side of the anvil. I then used the move tool to change the shape a little and beveled the vertex that was created when the merge happened so that the anvil doesn’t have a sharp point. To create the bottom part of the anvil, I used modified spheres and the boolean difference tool to take parts out of the original cube to create the shape that I wanted. I also used the move tool to edit the shape by modify the position of some of the edges. The mirror tool was then used to mirror the model on the Z axis to create the full anvil.

Full Anvil
Full Anvil Wireframe

To texture the anvil I used Substance Painter. I used a smart material known as Steel Gun Matte for the entirety of the model.

Textured Anvil
3D Asset Design Assignment Post 11 – Additional Notes (Arrow Quiver)
Hand Made Medieval Belt Quiver | Etsy
Hand Made Medieval Belt Quiver Image, 2019
New batch of Medieval arrows - Album on Imgur
Medieval Arrows Image, 2017
Medieval LARP Quiver Back Quiver Brown Suede Archery Arrow Quiver:  Amazon.co.uk: Sports & Outdoors
Medieval LARP Quiver Back Quiver Brown Suede Archery Arrow Quiver Image, 2016

The above images are the reference images I chose to use to make the arrow quiver. I chose multiple images of quivers so I could decide what type of quiver that I wanted to make while also taking aspects of the different quivers to inform the design of mine. The arrow image I chose shows a very simple arrow design which I took inspiration from because the main focus of the model is the quiver.

Early Quiver
Early Quiver Wireframe
Untextured Quiver
Wireframe Quiver
Untextured Arrow

To make the quiver I started with a cylinder and used the extrude tool to allow me to move faces on the top of the cylinder down to hollow out the cylinder. I also increased the thickness of the cylinder so that it wasn’t extremely thin and so that it would look more sturdy. Using the multi-cut tool, I added edges to three areas of the cylinder that allowed me to manipulate the shape of the cylinder so that I could start to form the quiver shape that I was aiming for. I then made further adjustments using the multi-cut tool and the smooth feature to make the shape more defined and finally achieve the look I wanted. The arrow also was started using a cylinder that I scaled to make it the right size for an arrow that would fit into my quiver. I used the extrude tool to create the arrow tip and to create the arrow feathers at the top.

To texture the quiver I added a leather material that I thought best matched an arrow quiver but it looked a little too clean so I also added dirt to the texture. This made it seem like the quiver had actually seen some use. To texture the arrows I used a wood material on the shaft, a steel rust material on the arrow tip and a fabric material on the feathers.